How to Fill Your Freezer in a Day {FREE PDF Template}
Most weeks, my meal prep is 1-2 hours on a Sunday putting together a plan for the week.
I cut up a ton of vegetables, portion out snacks, and prep most of my dinner recipes all the way to the actual cooking step. I end up with a nicely stocked fridge, and then I don’t worry about what’s on the table or in our bellies for another week.
Buuuut, sometimes I want to spend my time doing other things on Sunday, and I need to have some ready to go meals (or at least parts of a meal) from the freezer for the week.
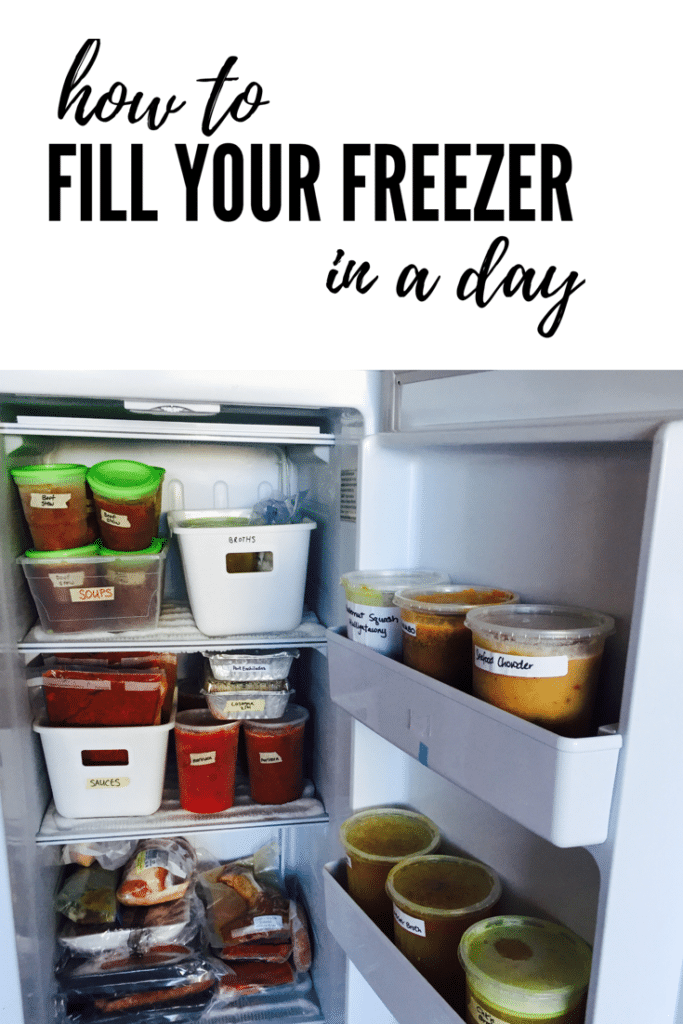
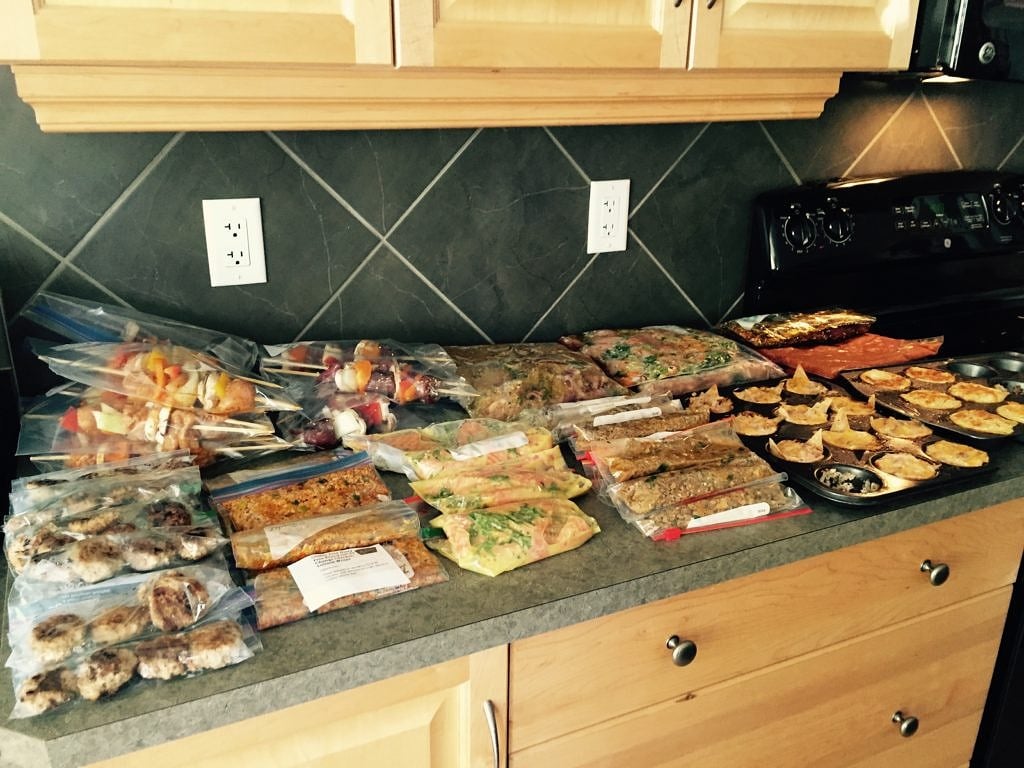
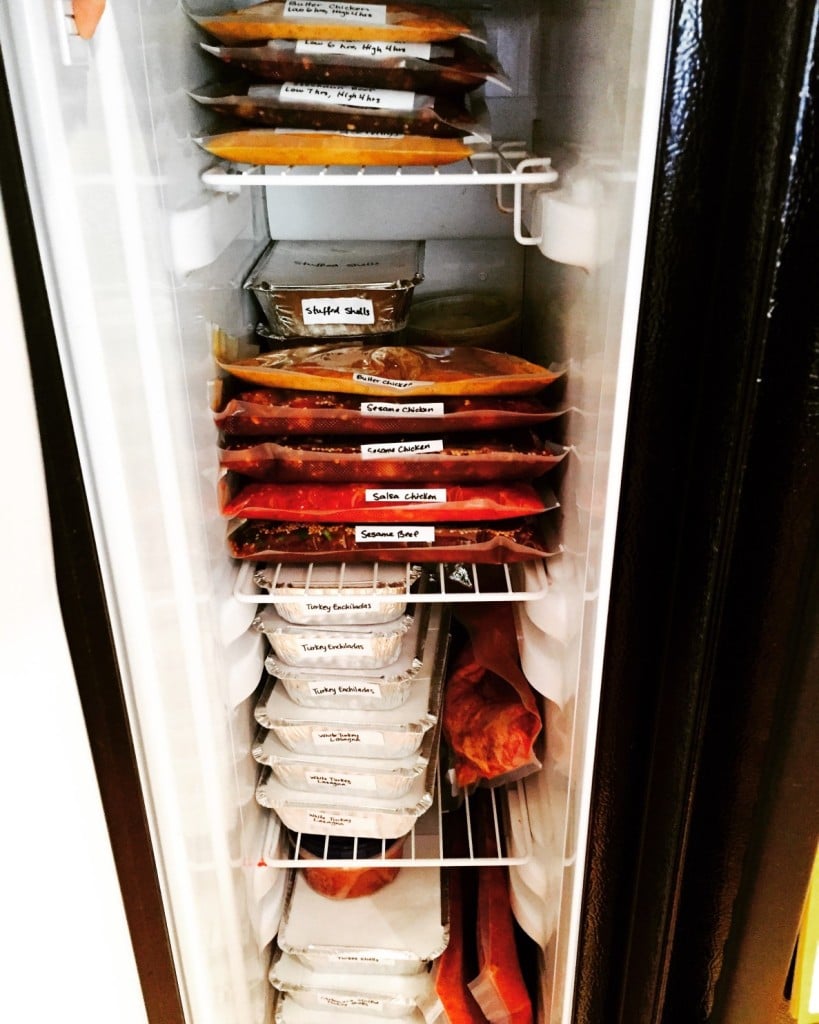
Once every couple of months, I take a day or weekend and stock up my freezers to make my life a little bit easier. I have been doing this for a couple of years now and thought I would answer one of the most popular questions I get: “ How can I get a freezer like that?!” and “How can I cook once and eat for a month?!”
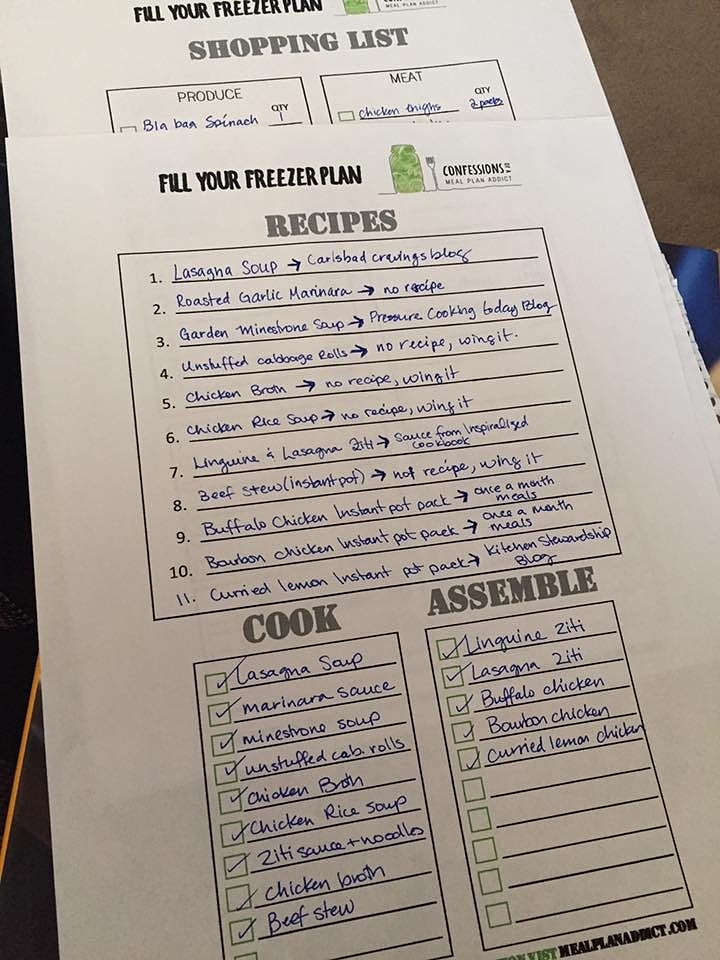
Here are the 4 steps, and the (FREE) planning template I use to get my beautiful freezer full of ready to go meals.
Step 1 | Plan what to cook
The first step is just figuring out what to put on your plan. I get inspiration for my freezer cooking days from a few places.
- Tried and true family favourites – in my house this is my sneaky spaghetti sauce!
- Pinterest – A quick search of “freezer meals” in Pinterest will have you knee deep in freezer meal inspiration in no time.
- Instagram – Search #freezermeals, #freezercooking (oh and follow me @mealplanaddict to see what I am filling my freezer with)
- Look in your freezer and pantry and work with what you already have. Do you have 10 pounds of ground beef? Get searching ground beef recipes! Got a ton a chicken, get searching chicken recipes.
| EXPERT TIPS|
- Don’t over plan. Start with only 3 -5 recipes. See how long that takes you and how tired you are and then next time, add a couple recipes if you are up for it.
- Don’t plan, shop, and cook all in the same day. That is insane. I did that once. It was a long day and I would never do it again.
- Don’t try all new recipes. Start with recipes you already know how to make.
- Not all recipes are great frozen. My approach to freezer meal prep is to make dinner “starters”. It is usually the main, I then add fresh veggies and sides the day I cook.
Step 2 | Make a list and Shop
I am such a classic list maker. I have lists for everything! I especially have a grocery list for big cook days.
I have found the best way to do this is to have my list divided by grocery store area. I read all the recipes I have on my plan, and add each new ingredient to the list; I add quantities as I see each ingredient come up again. (see page 2 of the free template)
Step 3 | Prep and Cook
If you are going to do this type of cooking often, get a food processor. Nobody wants to hand chop 12 onions and 50 cloves of garlic. NOBODY. For frequently used ingredients, use a food processor and get those chopped and ready to go.
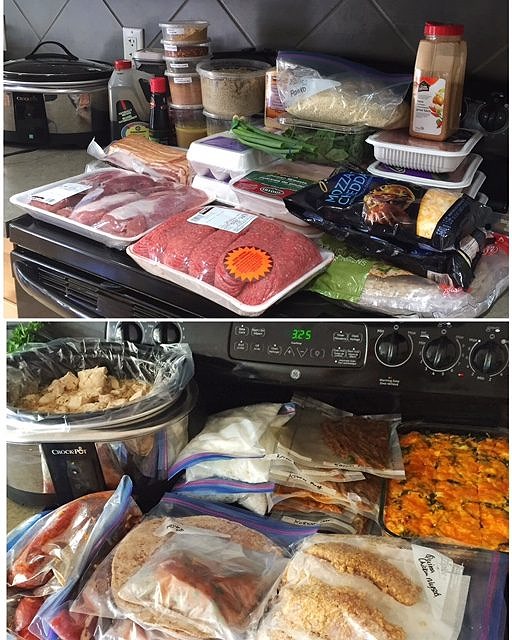
I will typically haul out all of the ingredients from my pantry that I will use for the day, and cut and chop up everything I need. Keep the meat in the fridge until you need it for a specific recipe.
Once you do this, you have everything ready to go like a salad bar and it’s just a matter of assembling the recipes. Depending on the size of my cook day, I sometimes shop and chop on Saturday, and then assemble Sunday.
Step 4 | Label and Store
Ah yes, this is where you get to build your beautiful freezer!
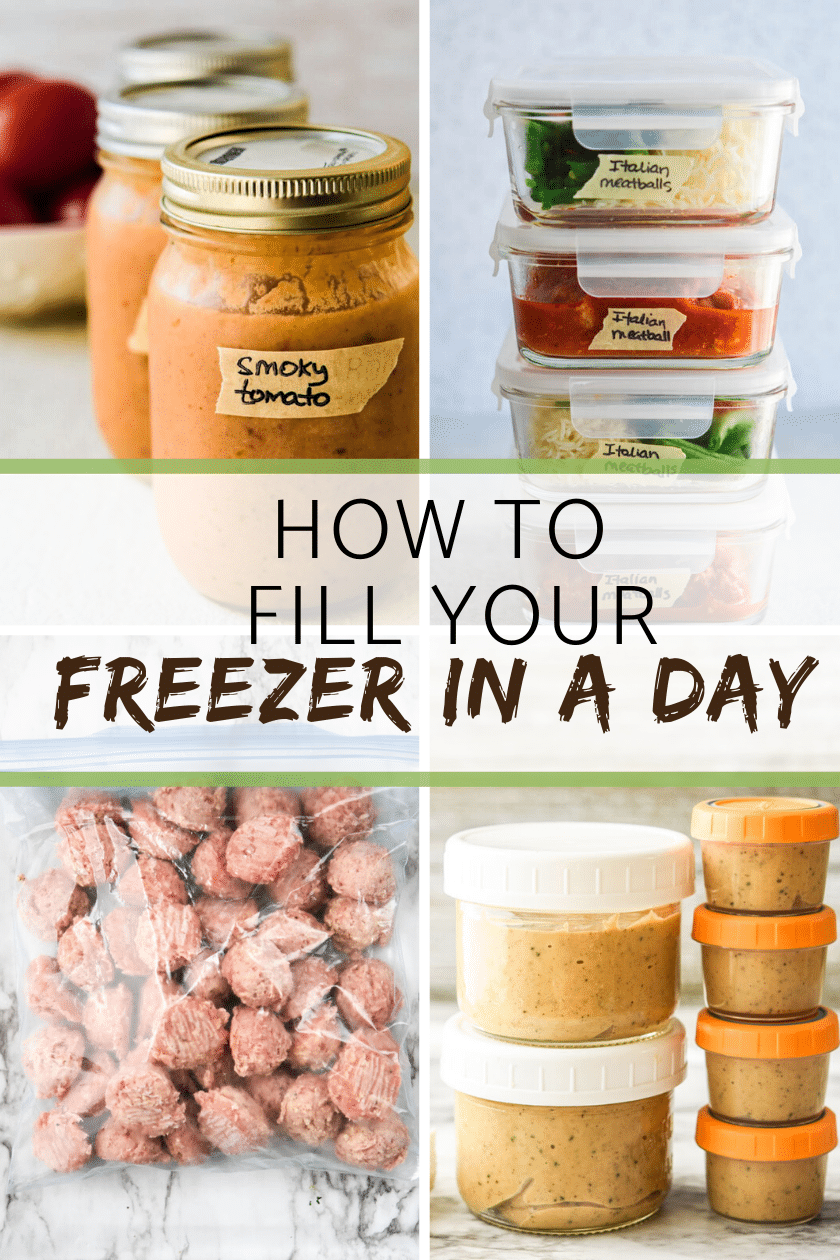
As for containers, there are many options and I use them all depending on what is on my plan. I have an entire post dedicated to containers here.
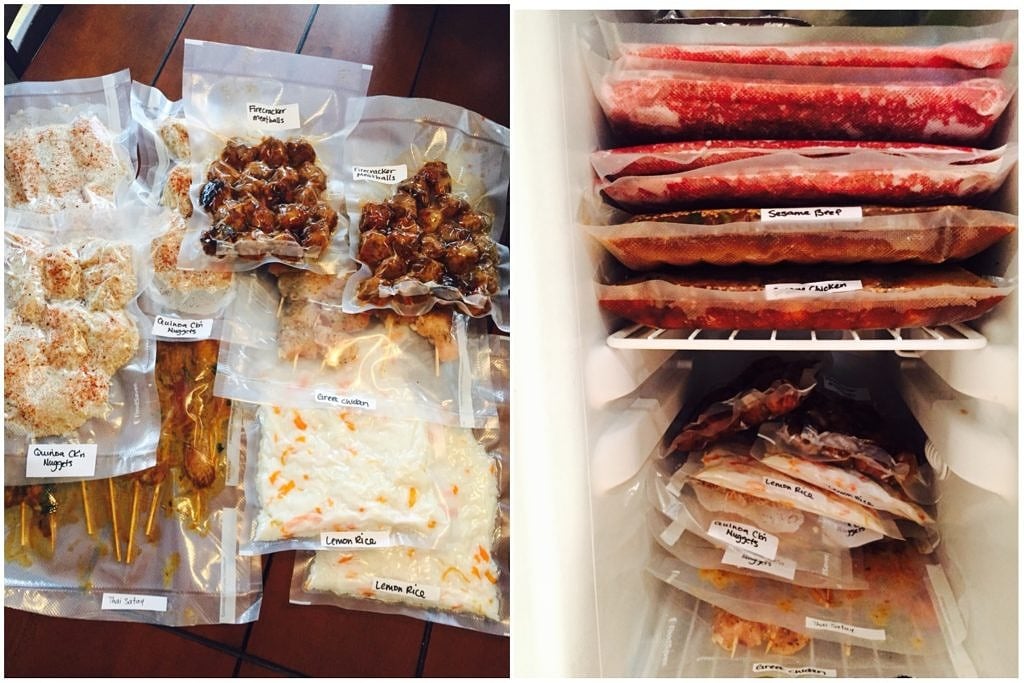
- For many of the prep raw and freeze meals I do, I use a food saver system. This allows me to store them flat (space saver!). Don’t have a foodsaver system? That’s ok, you can use Ziplock freezer bags. Make sure you buy the freezer grade if you are doing this!
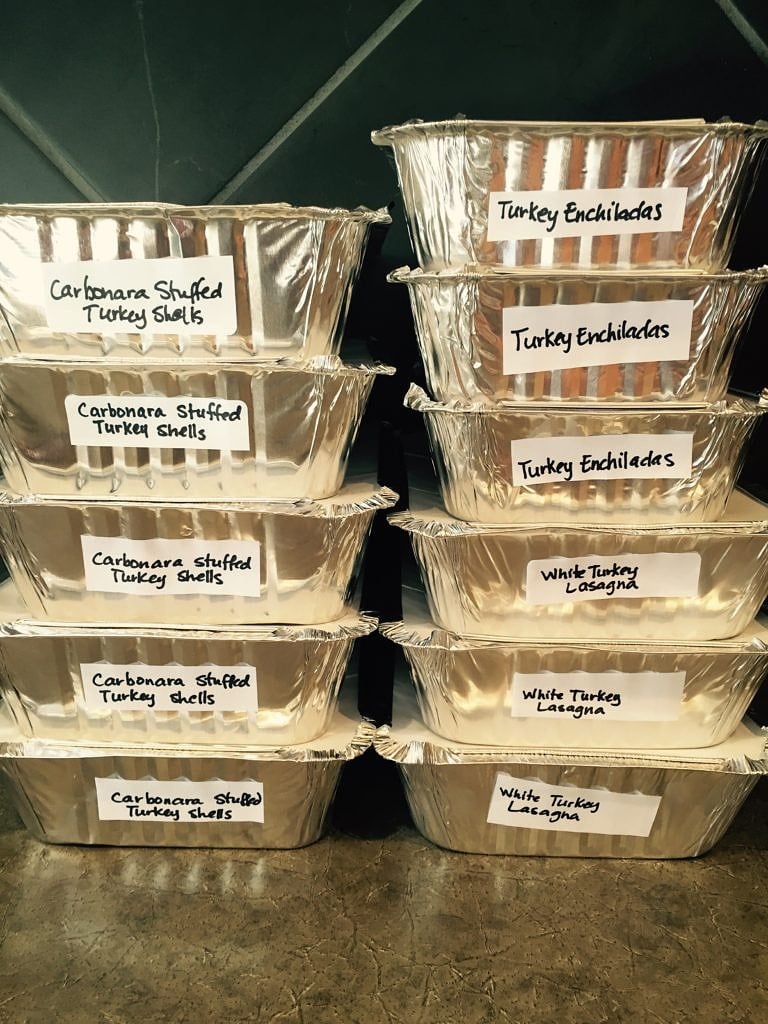
- Tin containers – These are good for pastas and casseroles of any kind.
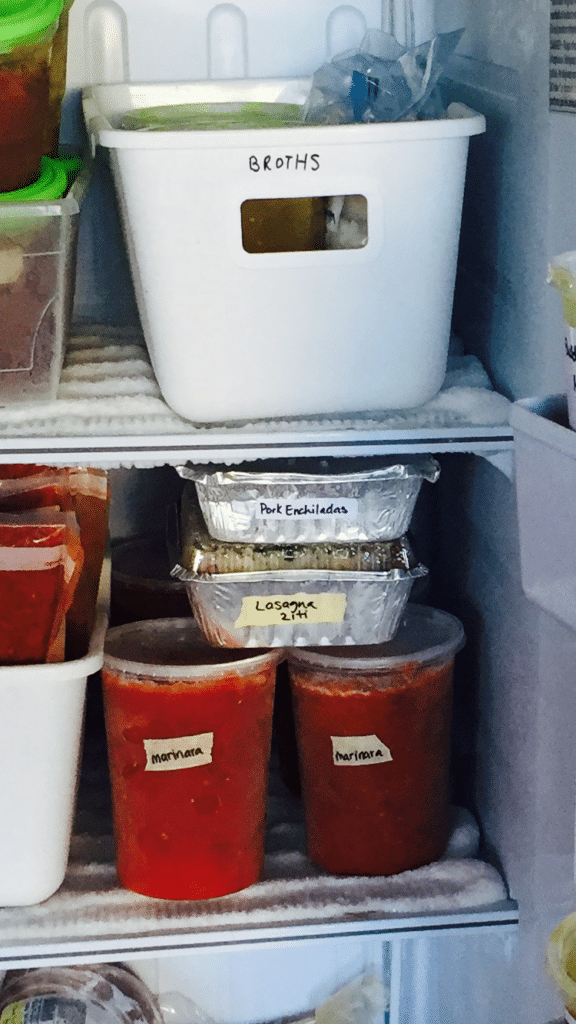
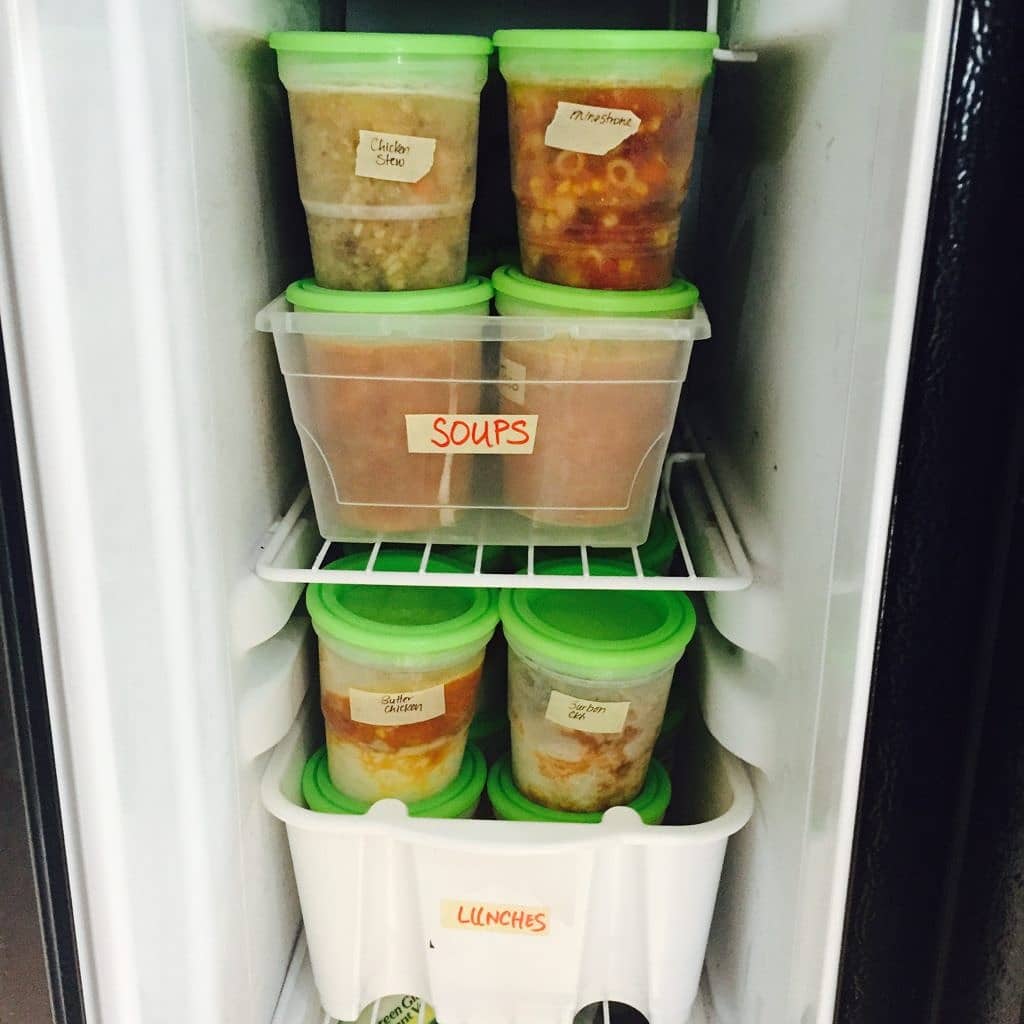
- Disposable plastic containers – these are a really great inexpensive way to store sauces and soups.
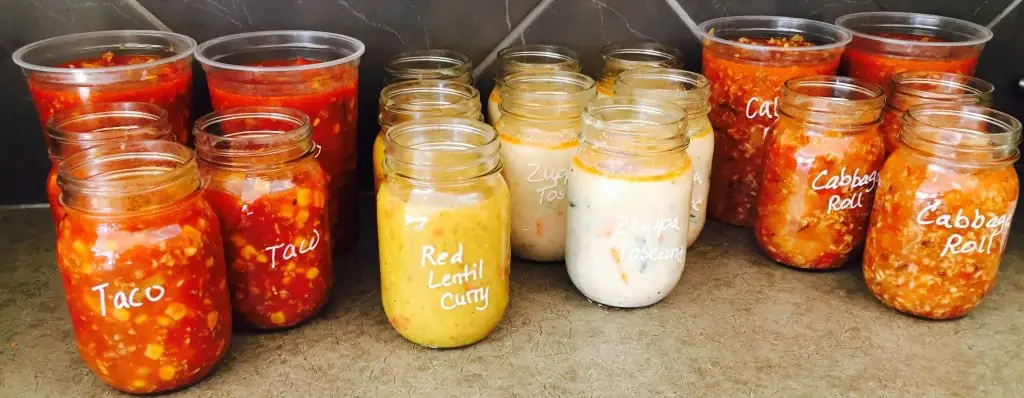
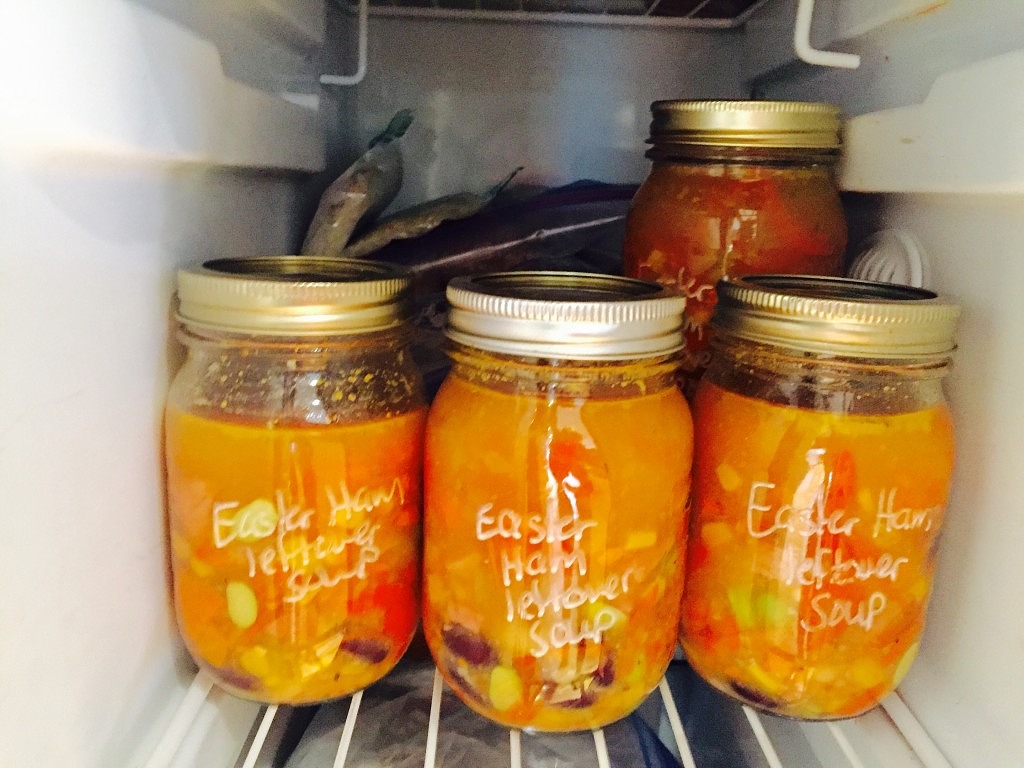
- Mason Jars – I love mason jars because I can easily store things in single serve lunch sizes, and they don’t stain.
- Freezer Jars – this is the plastic and freezable version of a mason jar. I have been loving these for my big soup cooks, but do find they stain easily.
As for labelling – I have tired just about everything and here is what works!
- Freezer tape – Masking tape WILL NOT stick to any container once it is frozen. 3M knows this, so they made a freezer specific tape! In Canada, this can be found at Home Hardware and Canadian Tire. It is a really inexpensive way to label everything.
- Freezer labels – I get freezer labels from freezerlabels.net. These are great if you want to have a lot of text with directions and don’t want to write it out 10 times.
- Sharpie – Sharpie marker works well on foodsaver bags and ziplock bags.
- Chalk Marker – I use chalk marker on glass. It washes right off my reusable containers.
| EXPERT TIP| If you really get into this type of cooking, investing in a freezer for your garage or basement might be a good idea. I highly suggest an upright vs a chest style.
If you want to see of the things I make for batch freezer cooking, check out these posts:
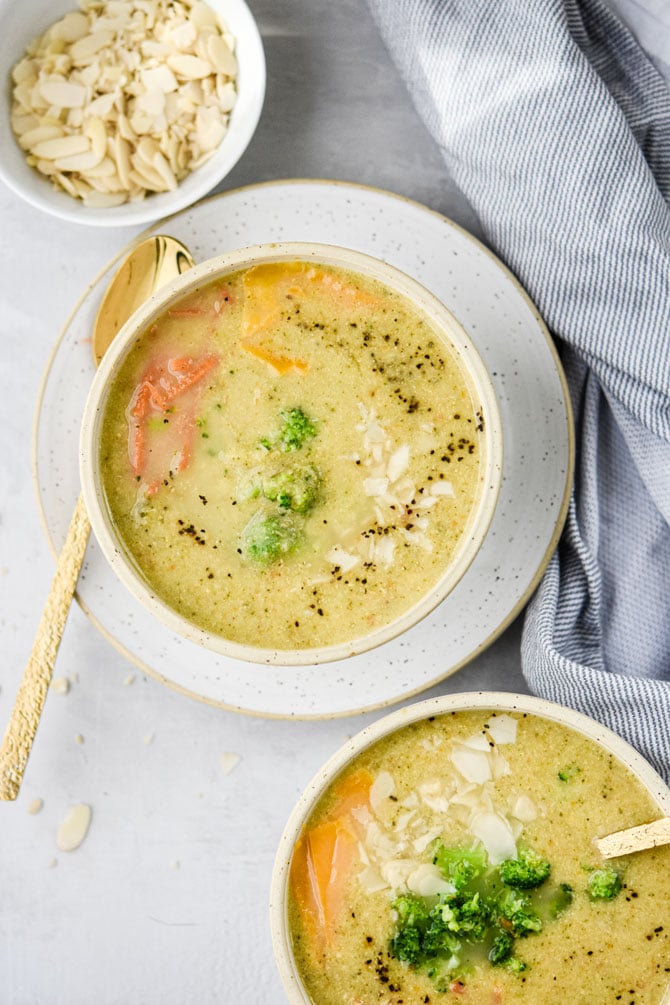
- Fill your Freezer – Single Serve Soups
- Freezable Grab & Go Lunches – Beef and Chicken
- 5 Ways to Use Taco Meat From the Freezer
- Freezer Friendly – Quinoa Egg Scramble Bowl
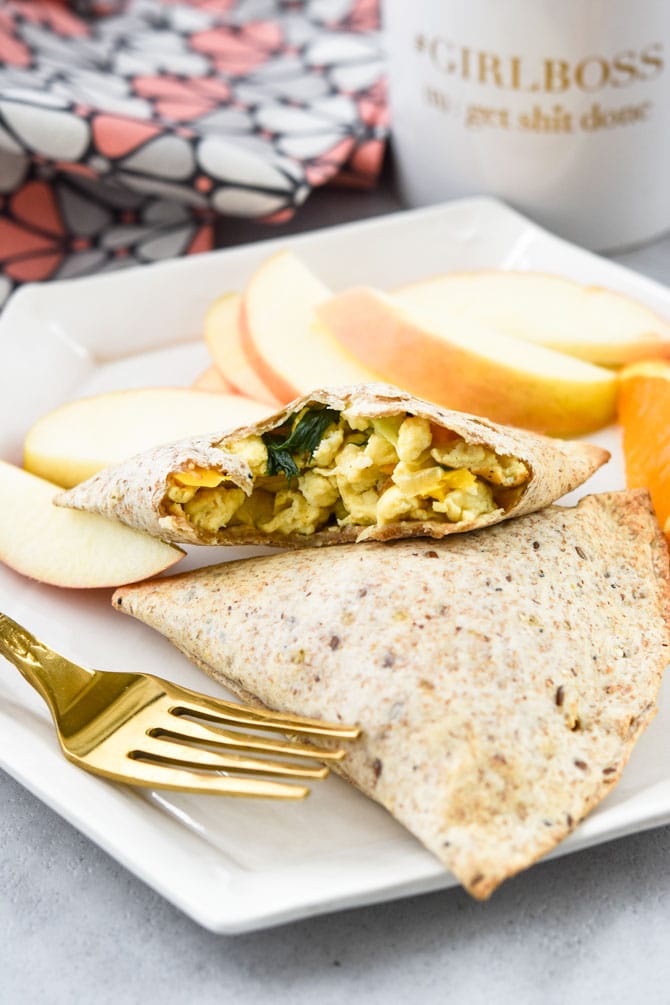
- Fill Your Freezer – Portable Healthy Breakfasts
- Fill Your Freezer – Energy Bites
- Make Ahead Freezer Smoothie Packs
- Confessions of a Born Again Slow Cooker
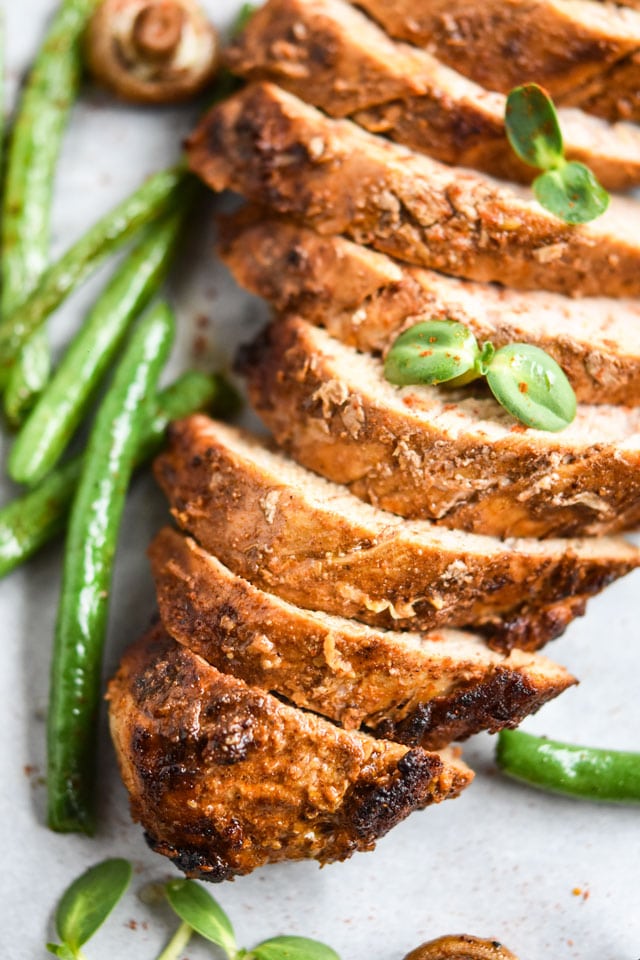
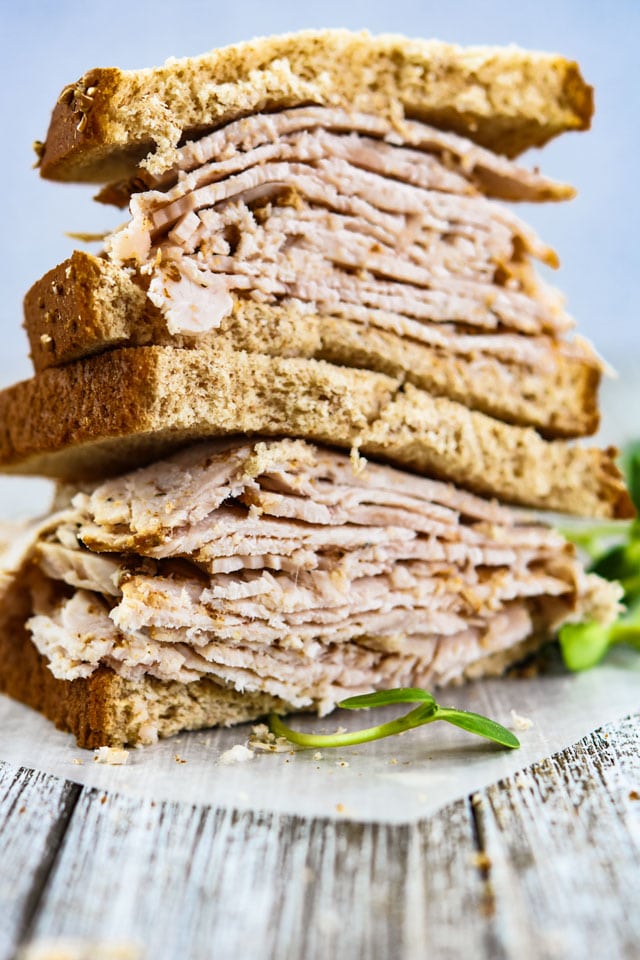
- Not Your Average Turkey Leftovers
Need even more inspiration and motivation? Come join the Confessions of a Meal Plan Addict Community on Facebook!
So, there you have it – 4 steps to Filling Your Freezer in a Day…. With a free Freezer Planning Template to get you going!


One Comment