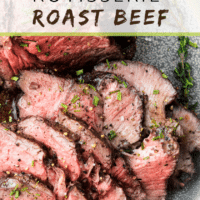
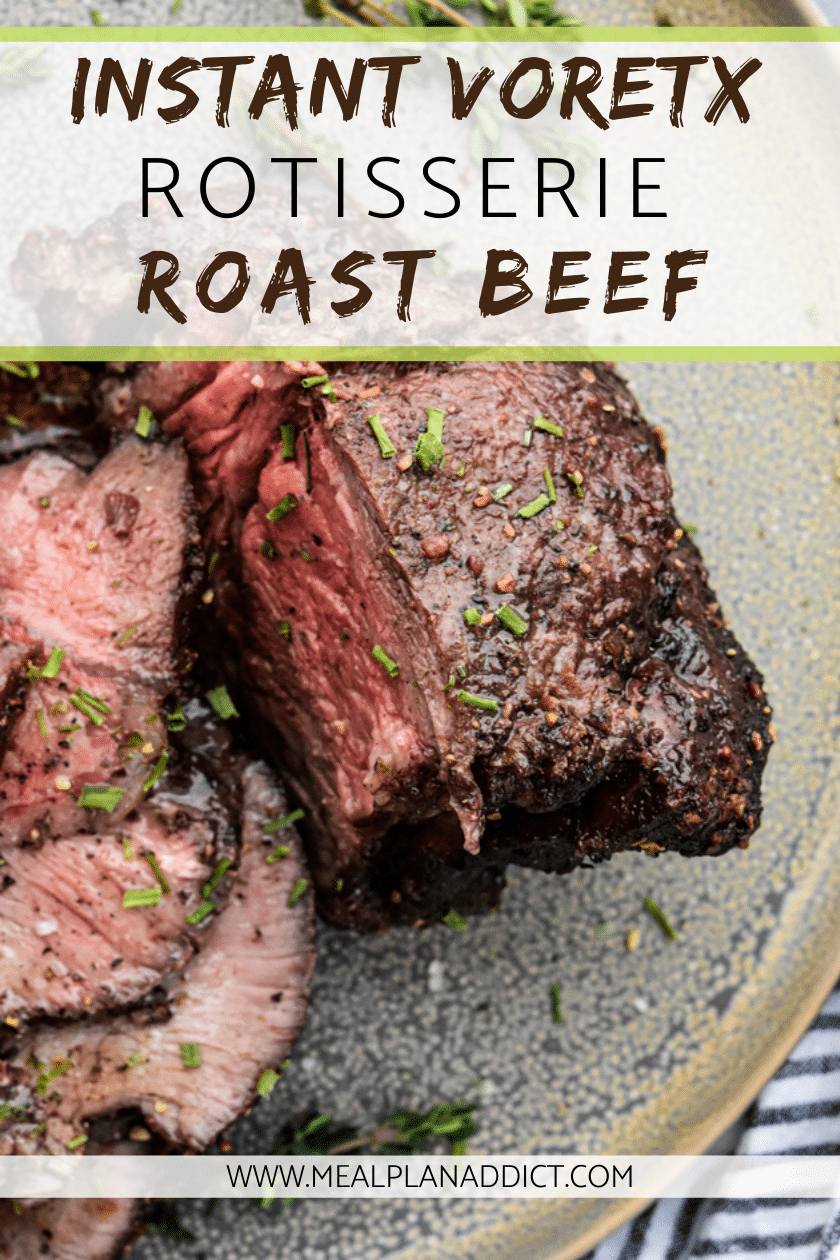
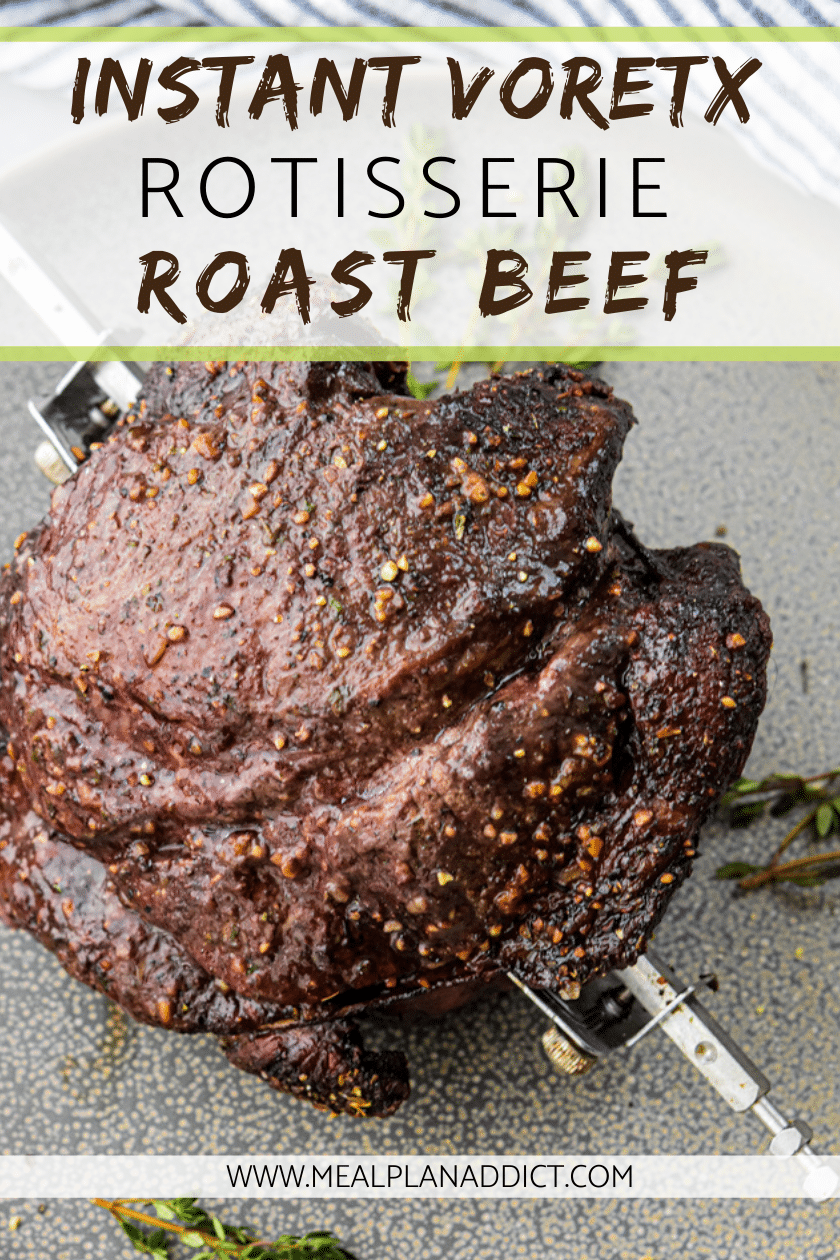
Instant Vortex Rotisserie Roast Beef
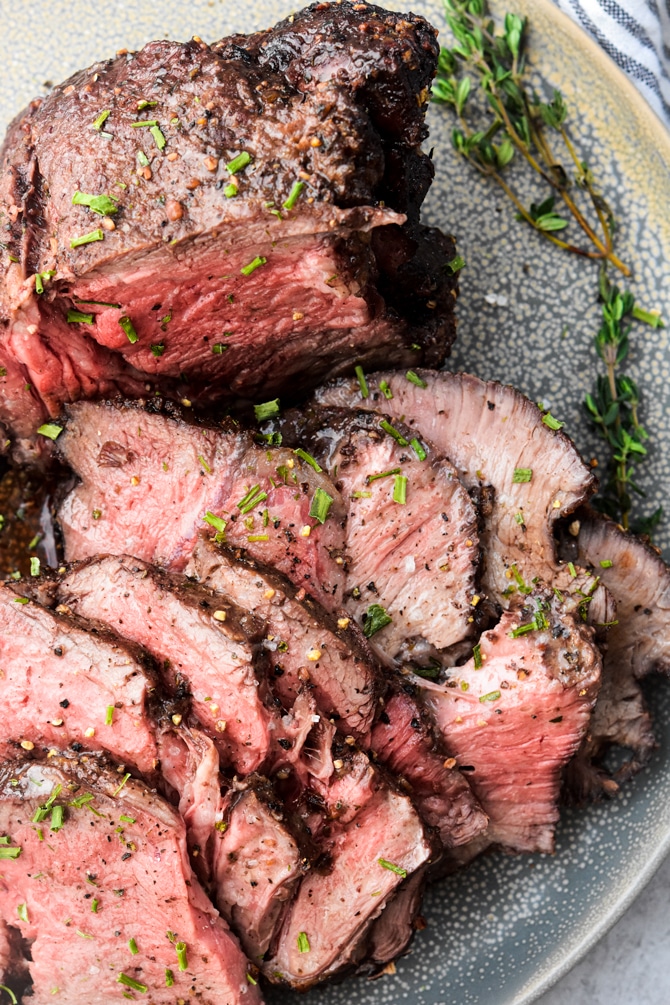
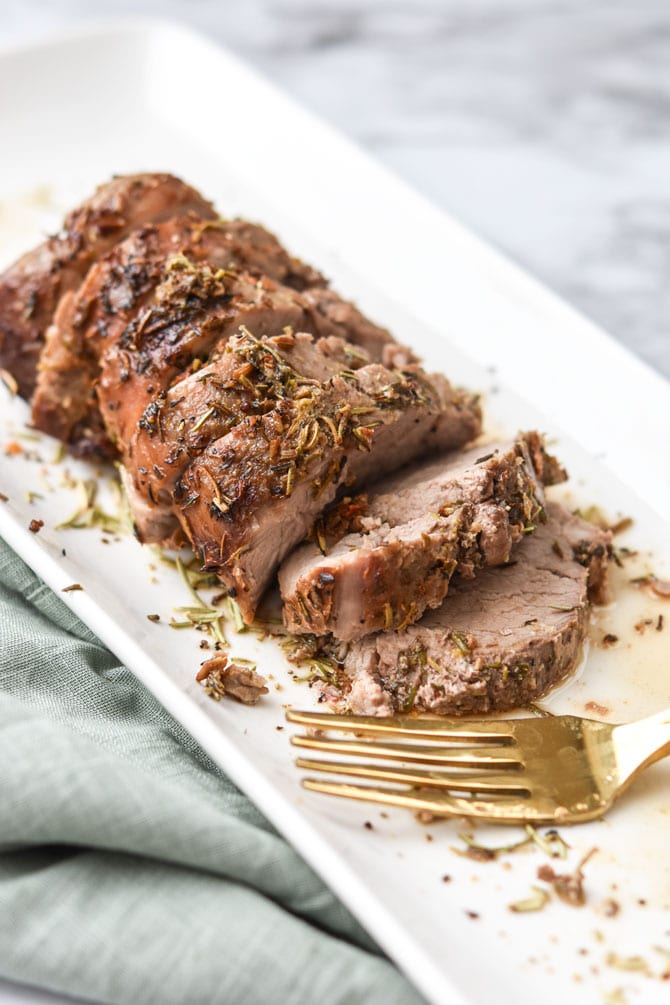
Instant Vortex rotisserie roast beef is an easy, self basting, quick way to get a super moist beef roast and perfect crust, every time!
The absolute best part of the Vortex Plus model is the ability to rotisserie meats!
After testing and perfecting rotisserie chicken in the Instant Vortex, next on my list is a beef roast!
Why bother with rotisserie?
Rotisserie beef is so good because the beef retains more moisture when prepared this way – thanks to rotisserie action basically allowing the roast to self baste itself.
Also, the the essential beef roast crust is perfect on all edges of your roast when you rotisserie!

To sear or not to sear?
With the self basting action, a lovely crust forms all on it’s own. No sear required!
Cook time for the perfect roast beef
Ignore all cook times for beef roasts.
Use it as an estimate, but always use a instant read thermometer and cook to temperature, not to a time.
- 130F for pink and warm medium-rare
- 140F for medium
- 150F for medium well
- 160F for well done (very little moisture will be left)
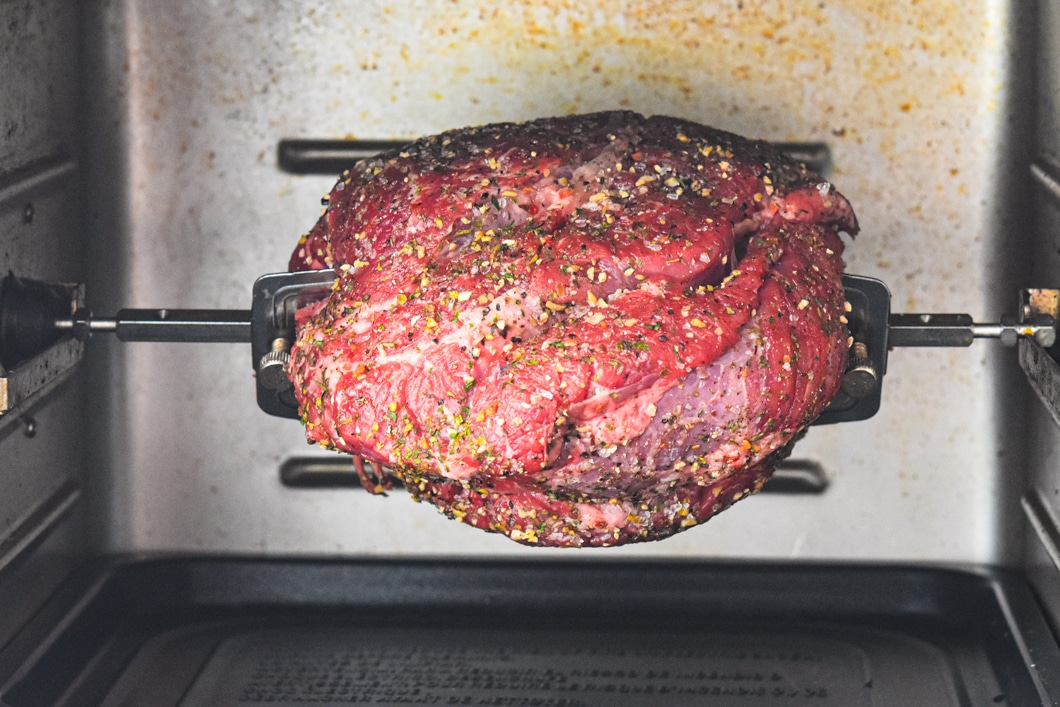
How to load the roast beef on the Instant Vortex Rotisserie
The one thing to keep in mind is that you want the rod centred in the roast as best you can. This will allow it to rotate properly.
If you put the roast on one of it’s short sides and then push the rod through (in a vertical direction), you will have gravity on your side and it should be easier than trying to push it through in a horizontal direction.
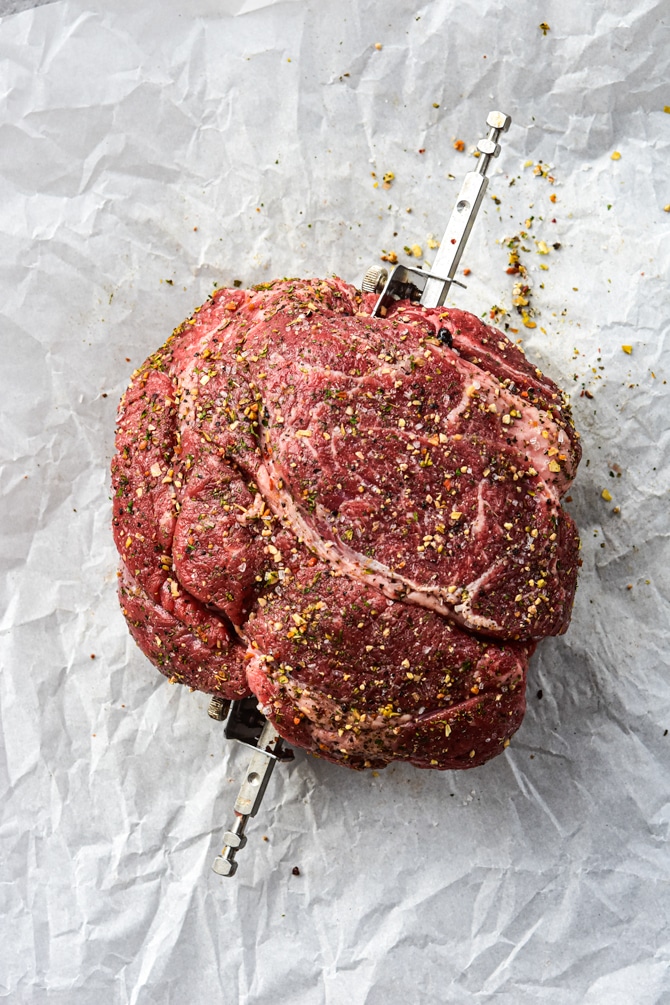
Once the rod is in, make sure the roast centered as best you can. Slide the fork pieces into the beef and screw them tight.
Push the red lever down and place the rotisserie skewer on that side of the vortex. Then load the other (right) side.
Remember, once you set the temperature and the cook time (which is just an estimate!) you have to press the rotate button to have the rotisserie rotate.
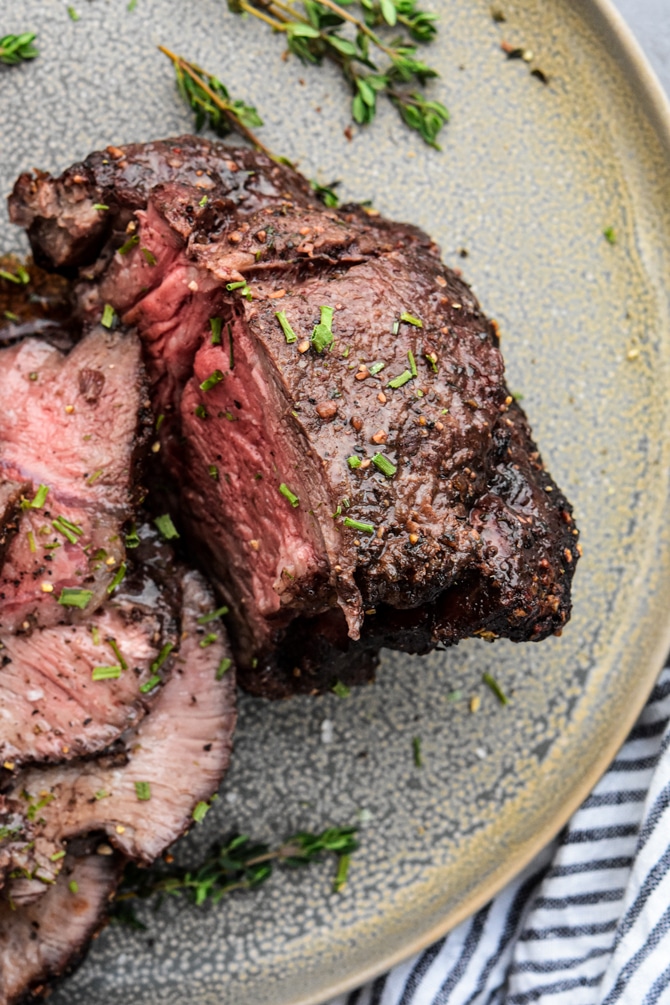
Resting your Instant Vortex Roast Beef
Resting your beef after it reaches your preferred temp is important. The rest period allows the moisture to go back into your roast. If you cut your roast right away, all of the moisture will pool out and will result in a dry roast.
To rest your rotisserie roast beef, remove it from the vortex and place it on a plate and cover with foil for 10 minutes. Then, you can remove the rotisserie rod and slice.
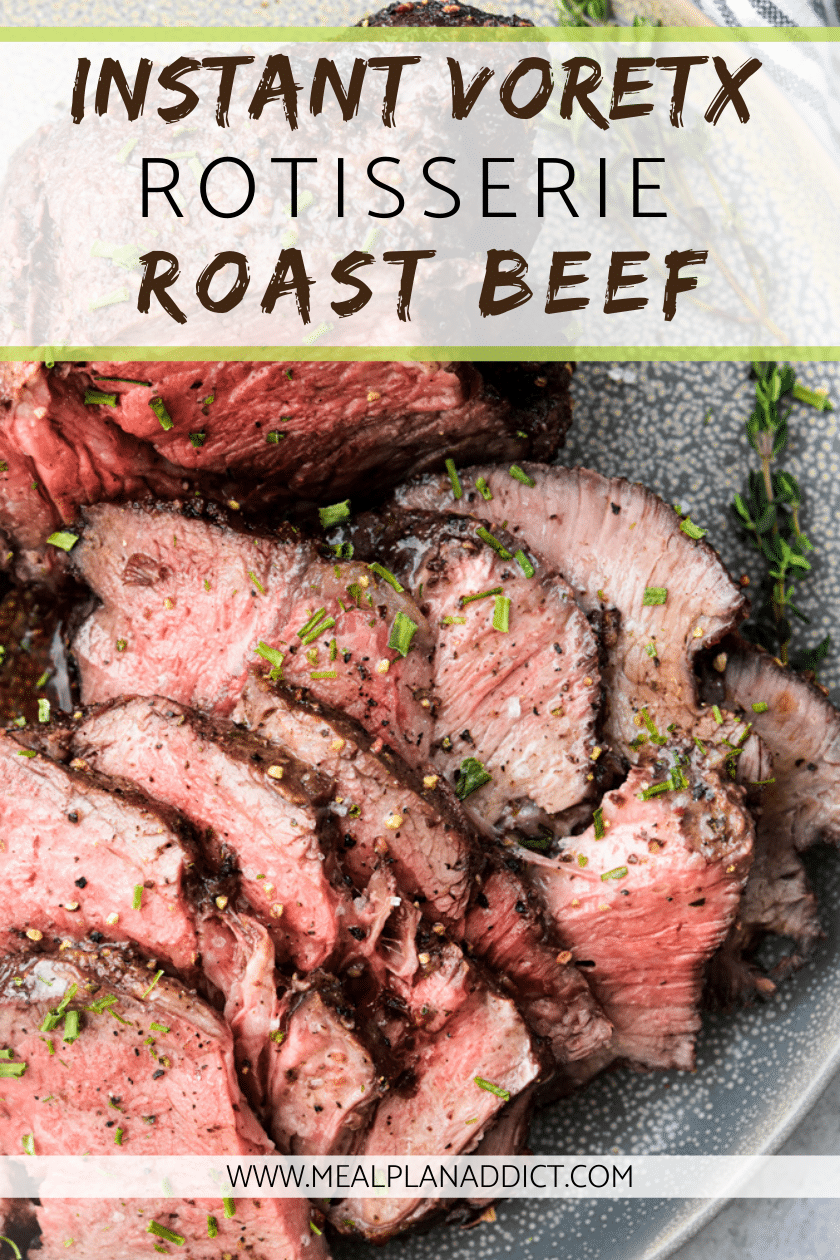
Slicing your Instant Vortex Roast Beef
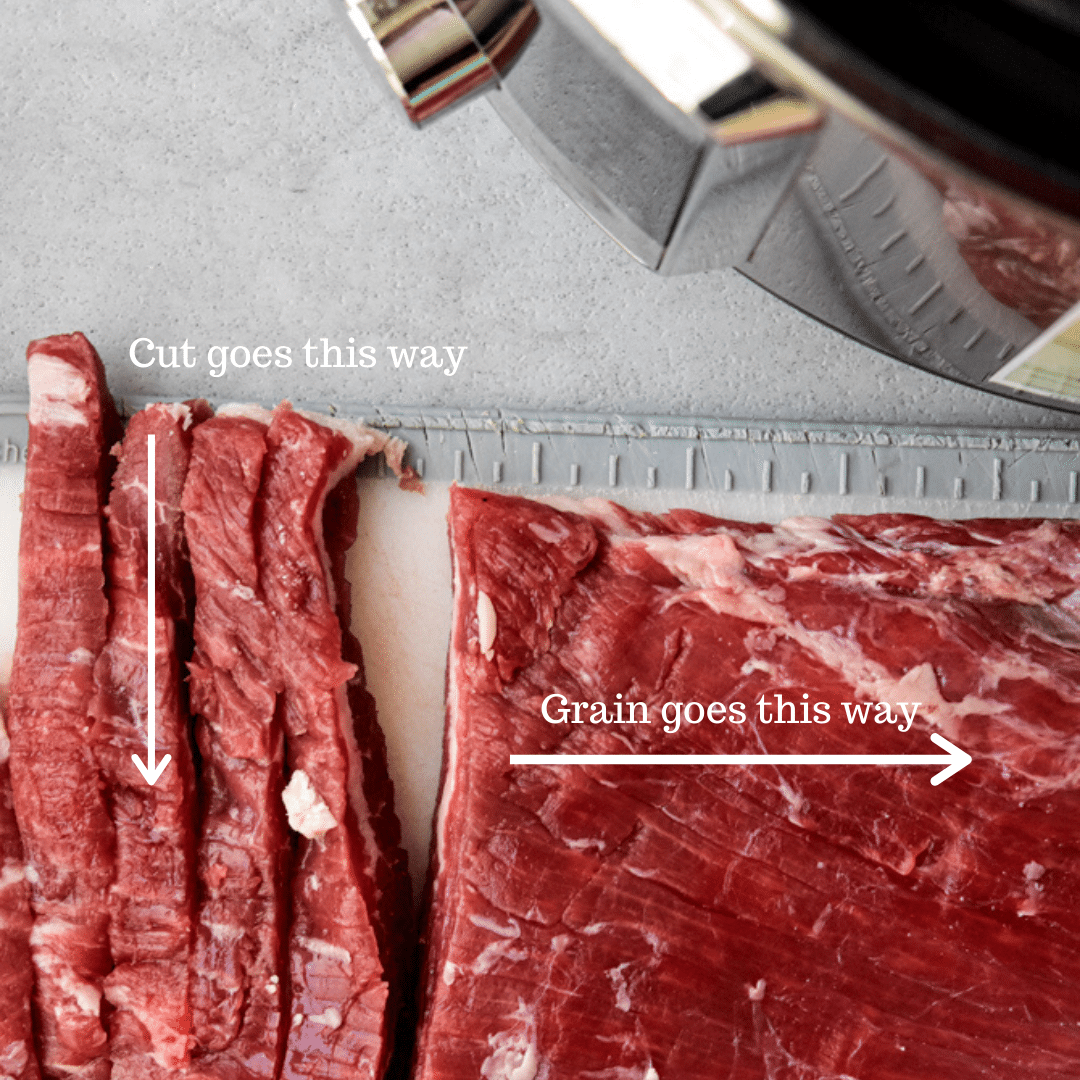
You always want to cut beef against the grain when ever possible.
When you cut against the grain, you are shortening the fibers, thus making it easier to chew, and more tender.
Here is a graphic to show you the grain, and how to cut against it. Note this is flank steak and not a roast – but the same logic applies to your Instant Vortex Rotisserie roast beef after it is cooked (and rested).
Are you ready to give this Instant Vortex Rotisserie Beef Roast a try?
If you do, I want to see! Tag me @mealplanaddict on Instagram to show off your roast.
Instant Vortex Rotisserie Roast Beef
Equipment
- Instant Vortex Plus with rotisserie attachment
Ingredients
- 2 lb top sirloin roast.
- Coarse Salt
- Freshly ground Pepper
- Italian seasoning or just simply use oregano
Instructions
- Using paper towel, pat the roast dry.
- Season the roast on all sides with salt, pepper and Italian seasoning. You want to be quite liberal in your seasoning
- Place the roast on one of the short ends. This has your roast standing vertical.
- Push the rotisserie rod the center of the roast the best you can. Slide it along the rod so the roast is centered on the rod.
- Slide the prong attachments on each side of the rod so they are securely in each end of the roast. Use the screws on the prongs to tighten the prongs onto the rod.
- Press the red lever and load the roast into the left side of the vortex. Once secured, secure the right side as well.
- Shut the door. Set the vortex to 300F for 45 minutes on ROAST. Check the temperature after 45 minutes.
- Press rotate button on the program screen to have the rotisserie rod start to rotate.
- After 45 minutes, you want to keep an eye on the temperature of the roast using an instant read thermometer. Cook time will be highly variable depending on size of the roast and doneness preference. 130°F for pink and warm medium-rare140°F for medium150°F for medium well 160°F for well done (very little moisture will be left)
- After desired temperature is reached, remove the roast, cover with foil and allow to rest for 10 minutes.
- After the rest period, slice the roast against the grain into slices, and serve.


Can you use a rump roast?
You can use any roast cut you like. The cook time may differ and the tenderness will differ depending on the roast.
recipe is great. The device is not set -n- forget. takes some getting used to. Biggest point? It is not the raw weight that will get you, it will be width of cut. You’ll need to know the dimensions and ensure it can rotate around. Trimming after starting is a not fun experience.