How to Prep & Freeze Instant Pot Suppers (plus recipes)
If you have read my post about Freezer Dinner Starters you know I am not a fan of filling my freezer with fully prepped meals. To me, it feels a lot like eating leftovers – so I don’t do a whole lot of freezer meal prep in the traditional sense– and the same logic holds true for my instant pot prep. I like to prep everything raw and freeze. Prep day is easy (no cooking!) and food doesn’t feel like leftovers. On the cook day, it goes into the instant pot while I chat with my husband and small human about their day.
The instant pot has become an essential tool in my regular meal prep adventures. I use it for once a week meal prep (here’s how), and now it is being incorporated into my freezer meal prep too.
Why wouldn’t I just use a slow cooker for these?
- I don’t want to wait 6- 8 hours to cook these during the week. I want to put them in my pot when I walk in the door and have dinner within the next hour – frozen or not.
- As much as I meal plan, sometimes I do forget to actually take the dinner out of the freezer and with the instant pot, we can still have that frozen dinner that night and it is nice to have the option to cook directly from frozen (which is not recommended with slow cooking).
I think that all of these recipes could be prepared in a slow cooker, but slow cooking is just not an option for me for weeknights. I am out of my house at least 10 hours and anything cooked for 10 hours is just not very good – in my experience. I do use my slow cooker on the weekends and when I am cooking for a crowd!
How & Why do I freeze them in circular containers?
- If I don’t pull out a meal to thaw, and have to cook it from frozen, it needs to be in a shape that fits in the instant pot. And, the packs store well like this – upright until frozen = no leaks!
- When deciding on a mould shape, place the container into the instant pot to make sure it fits for both diameter and height.
- I have found that the 6 cup round ziplock containers work well, as do 1L disposable plastic containers. Once frozen overnight in the containers, you can remove the containers and stack the meals to save space.
- The biggest challenge to these freezer packs is getting as much air as possible out. Using the foodsaver is a challenge because as the air is sucked out, the shape of the bag changes. BUT – you can transfer to a foodsaver for longer term storage once it is frozen. But- that is an extra step. I did it with one recipe as the contents were a bit much to have the ziplock close tightly.
Which tools are needed?
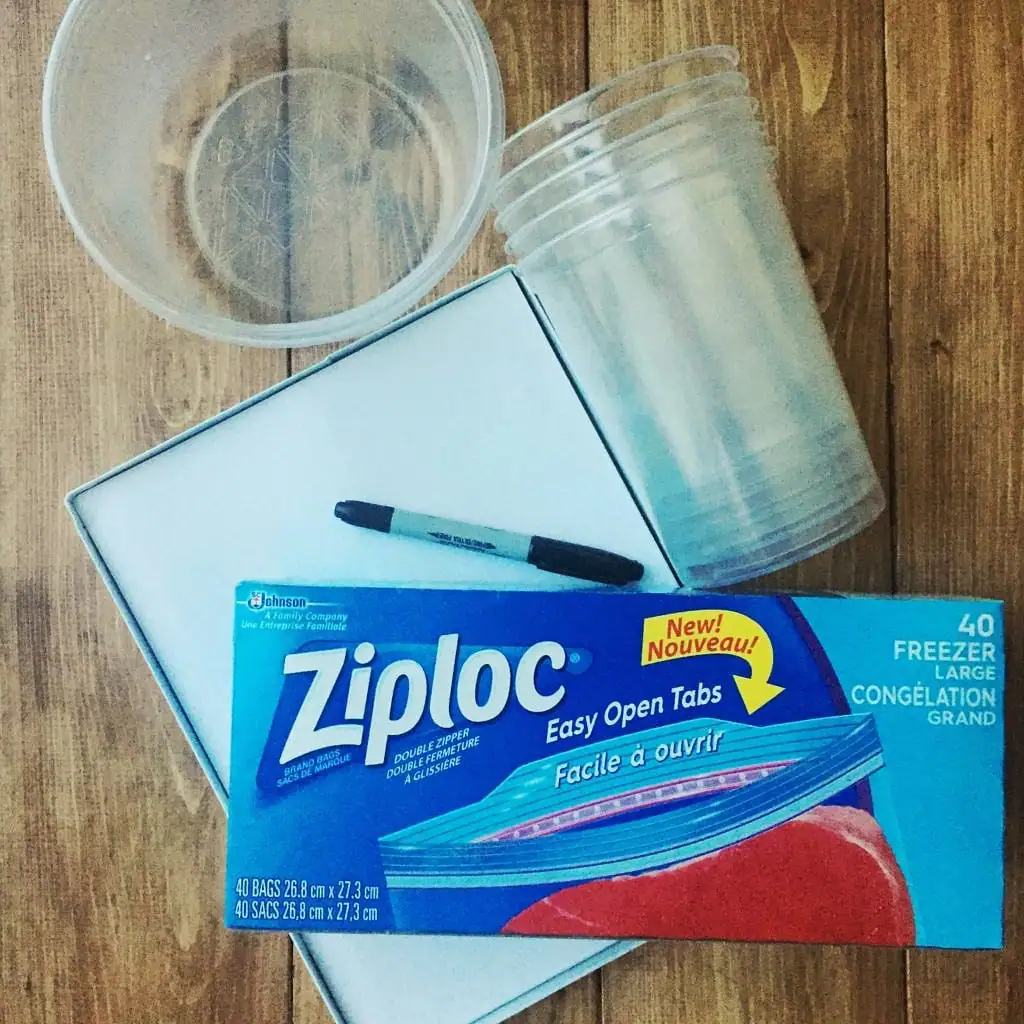
- 6 cup capacity ziplock plastic containers, or 1L plastic disposable containers.
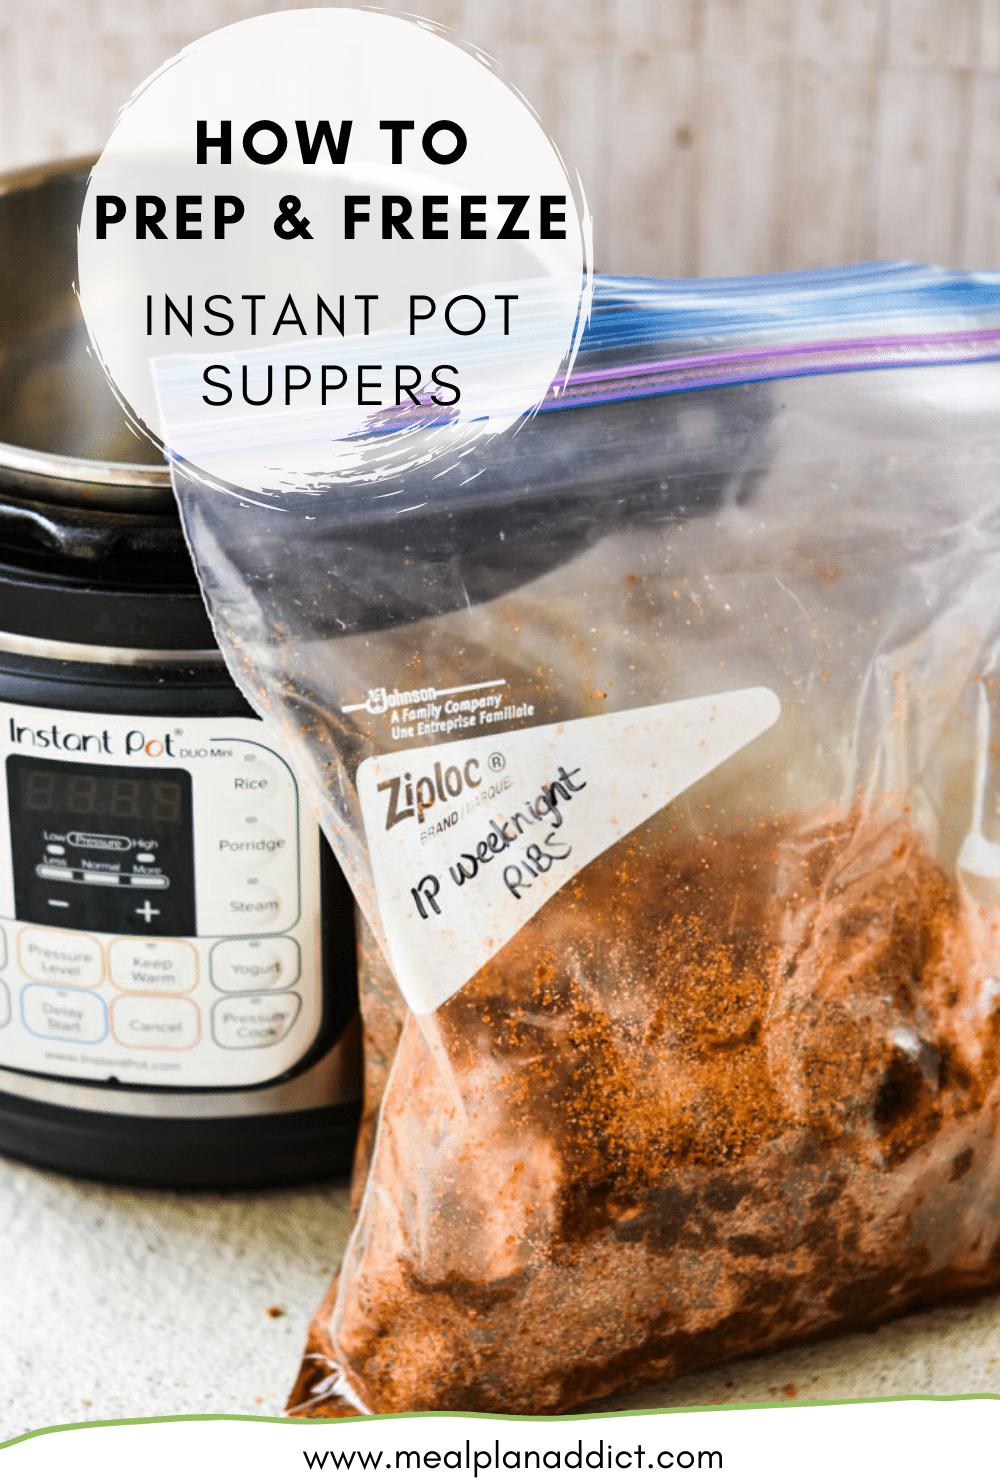
- Freezer labels (freezerlabels.net) and a sharpie. You could also write directly on the bag and skip the labels, but it is much harder to read the contents.
- Ziploc Freezer Bags (gallon size)- not all ziplock bags are created equal. Ensure you buy the freezer specific bags.
- Optional Foodsaver system.
How to Store them?
- I am a fan of the plastic container and ziplock system for a few reasons.
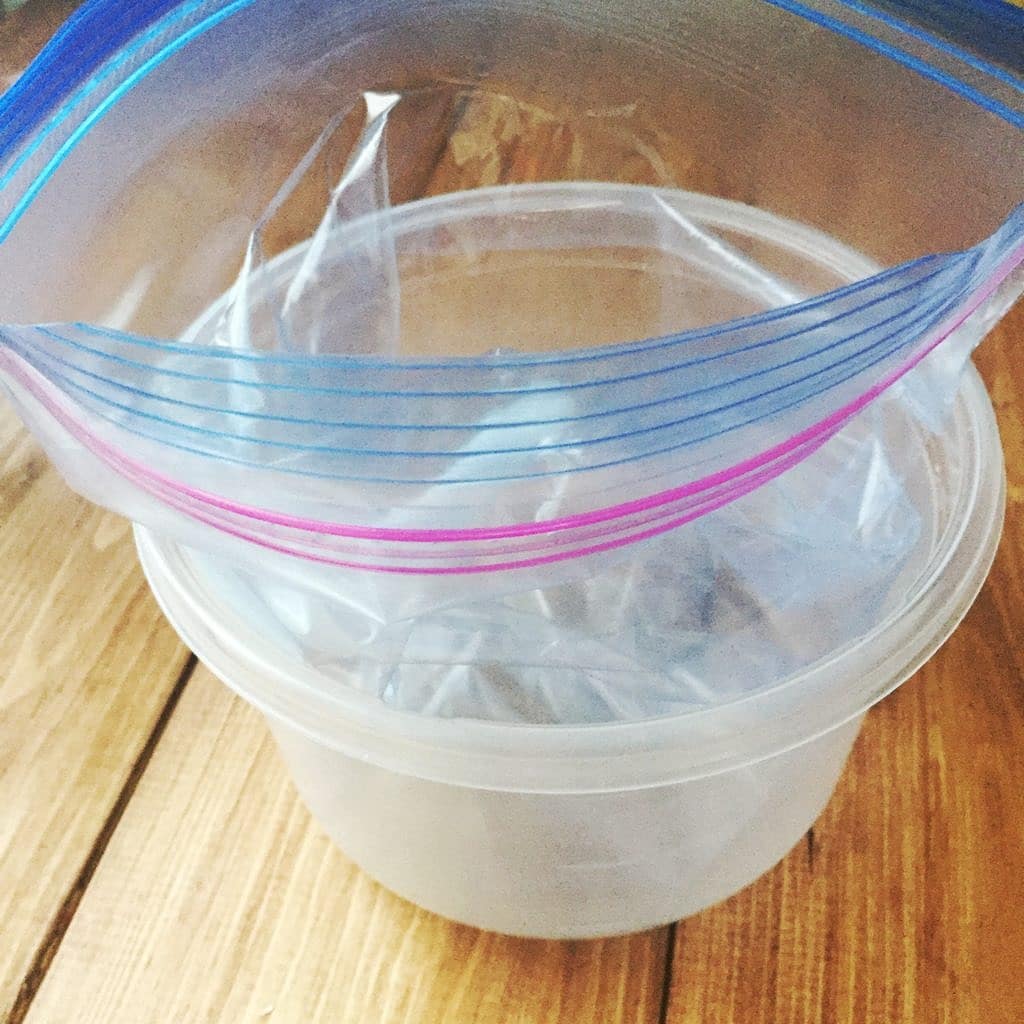
- you can put the ziplock baggie into the container and just dump ingredients in as you go – no mixing bowls required.
- you can freeze these upright – less leaking issues.
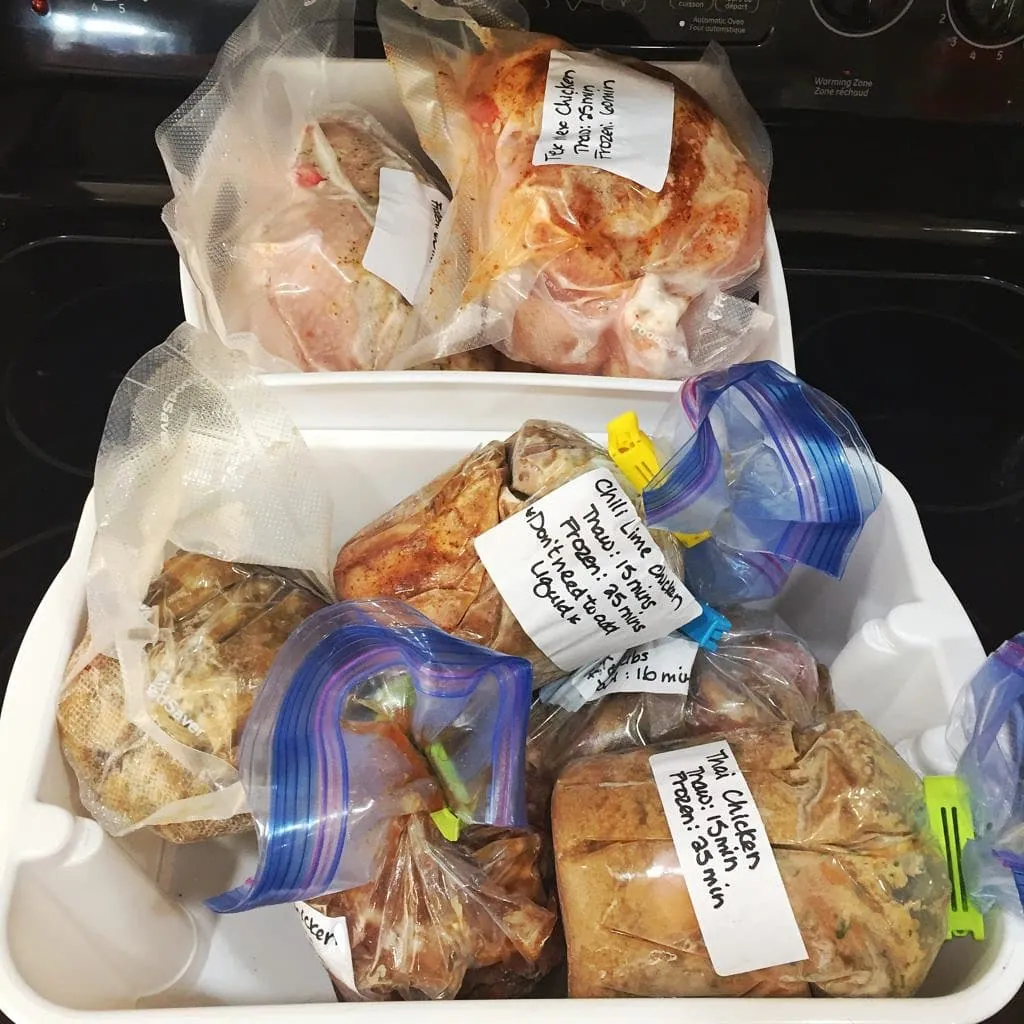
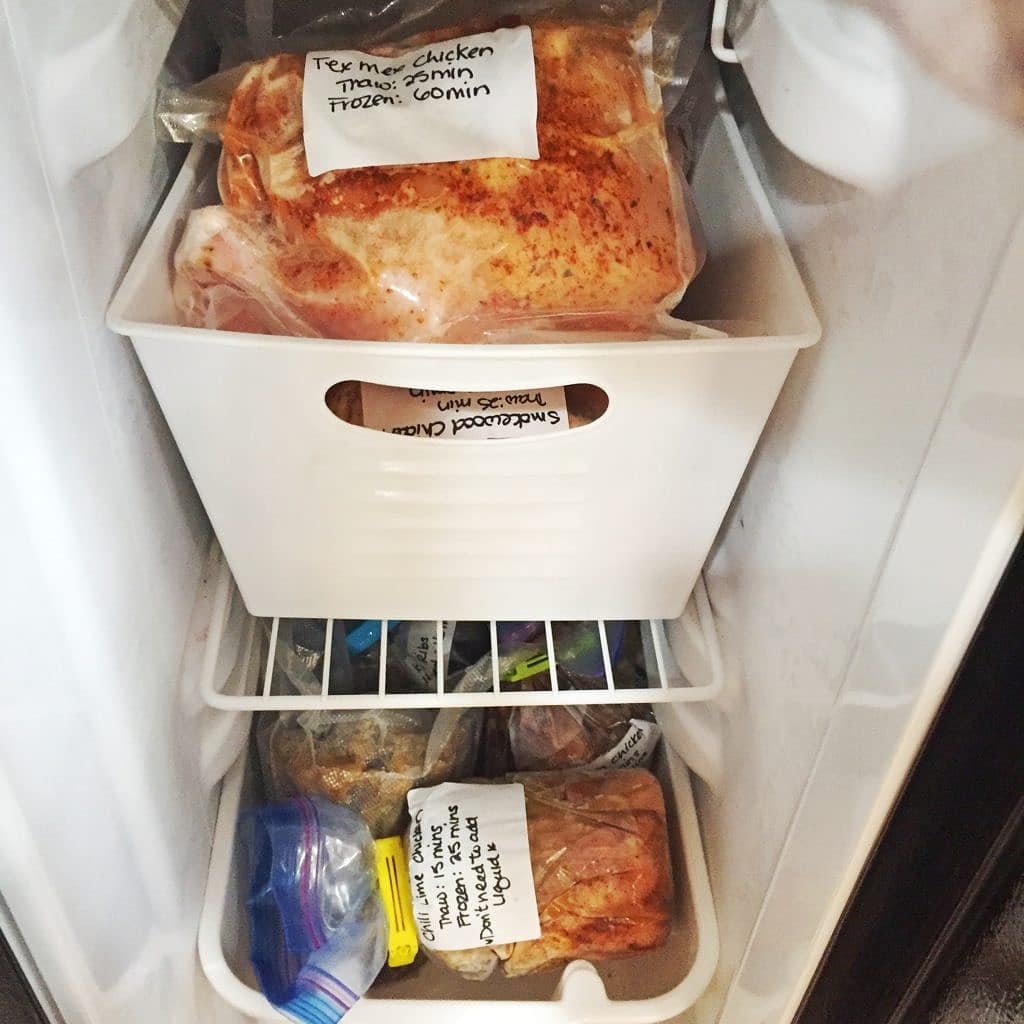
- they store easily in bins in your freezer this way without any bulky containers.
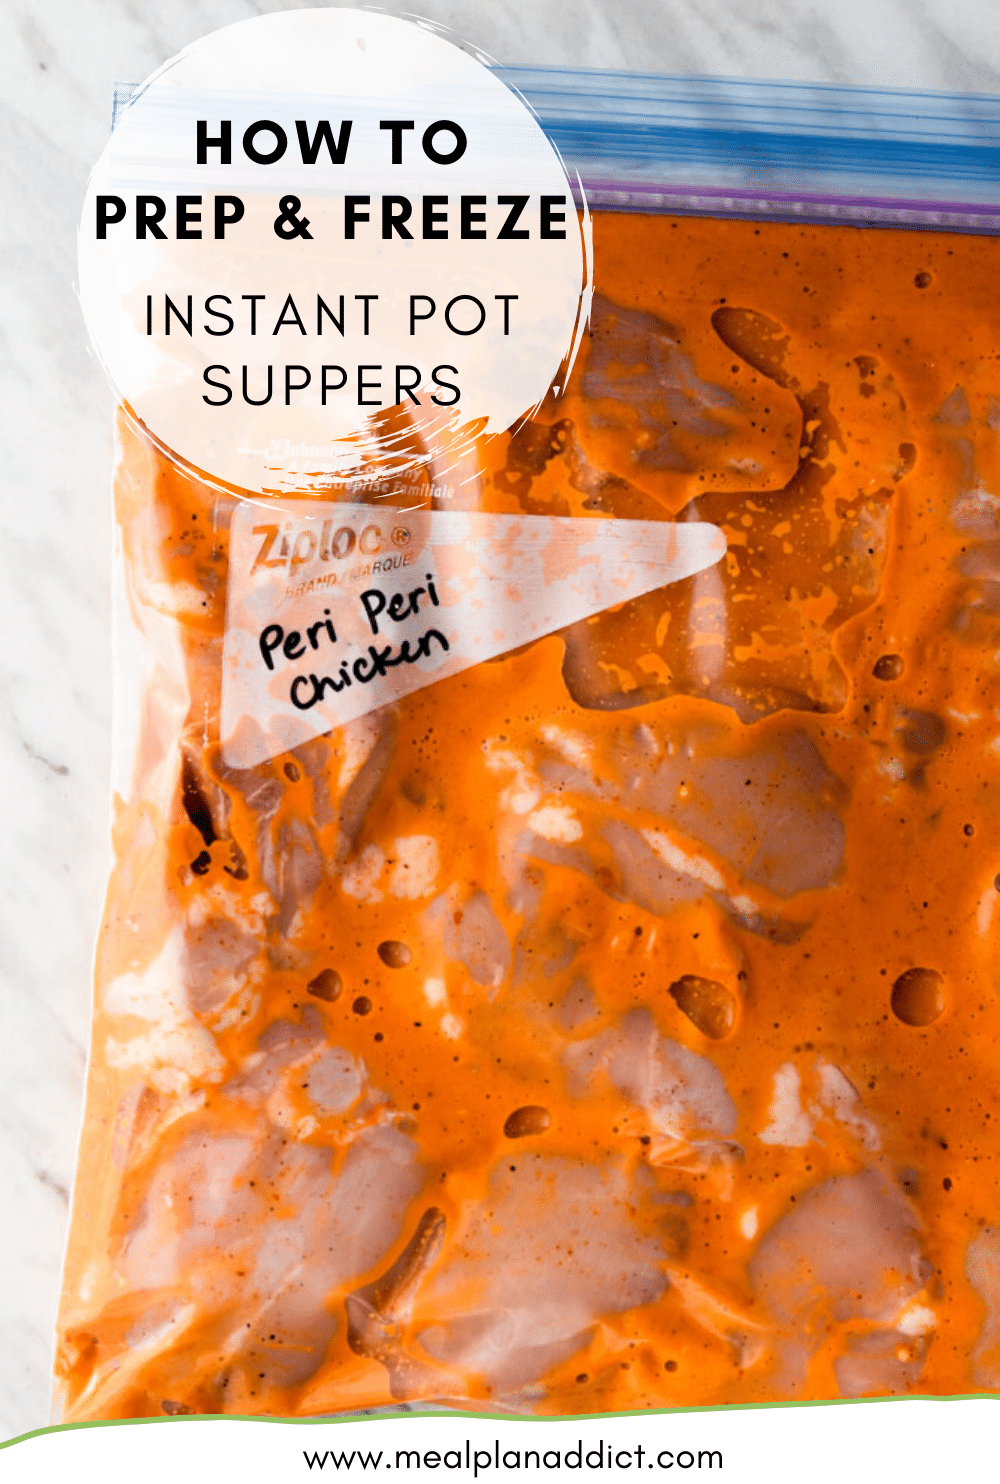
- On prep day, put all of the ingredients into the ziplock bag (that is inserted into a plastic container). Freeze overnight so the meal becomes the shape of the container.
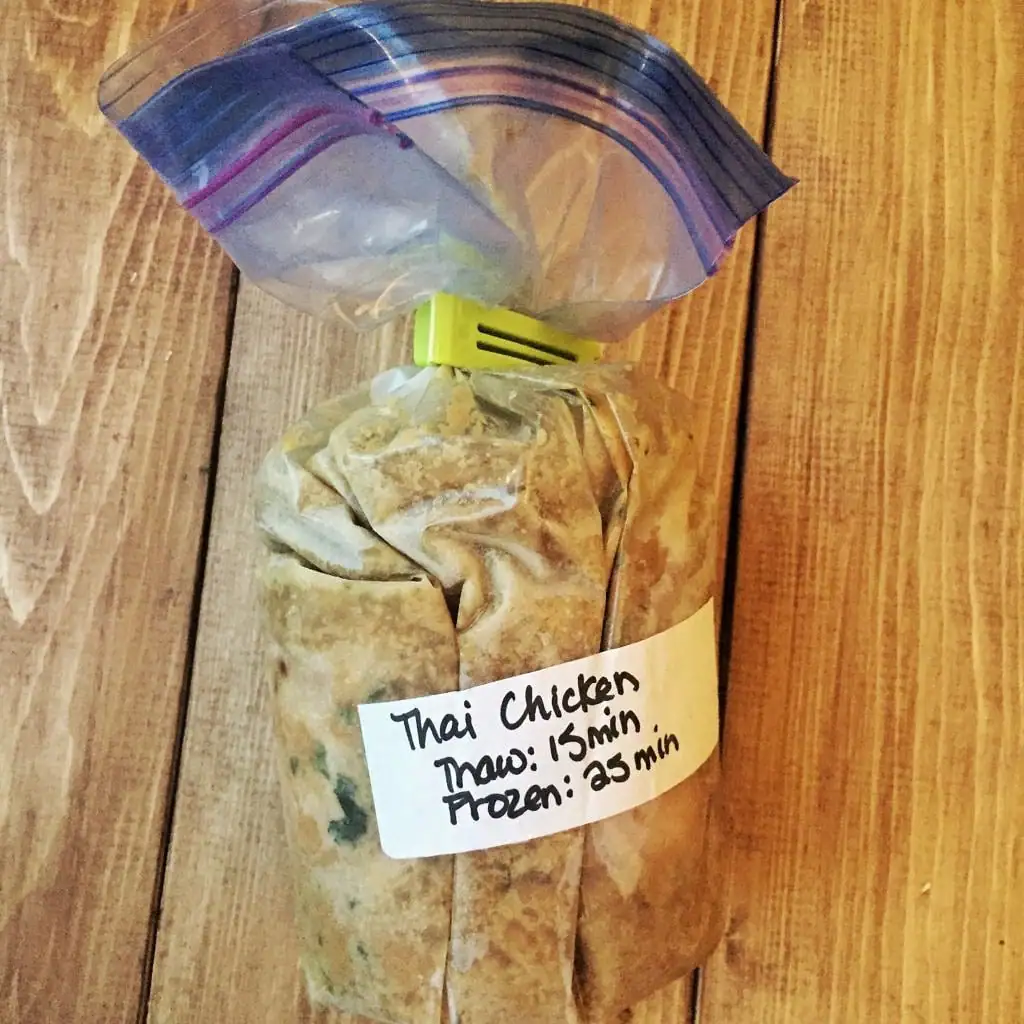
- Next day – you can slide the ziplock out – remove air and seal the bag. I use bag clips from IKEA to clamp as close to the frozen meal as I can.
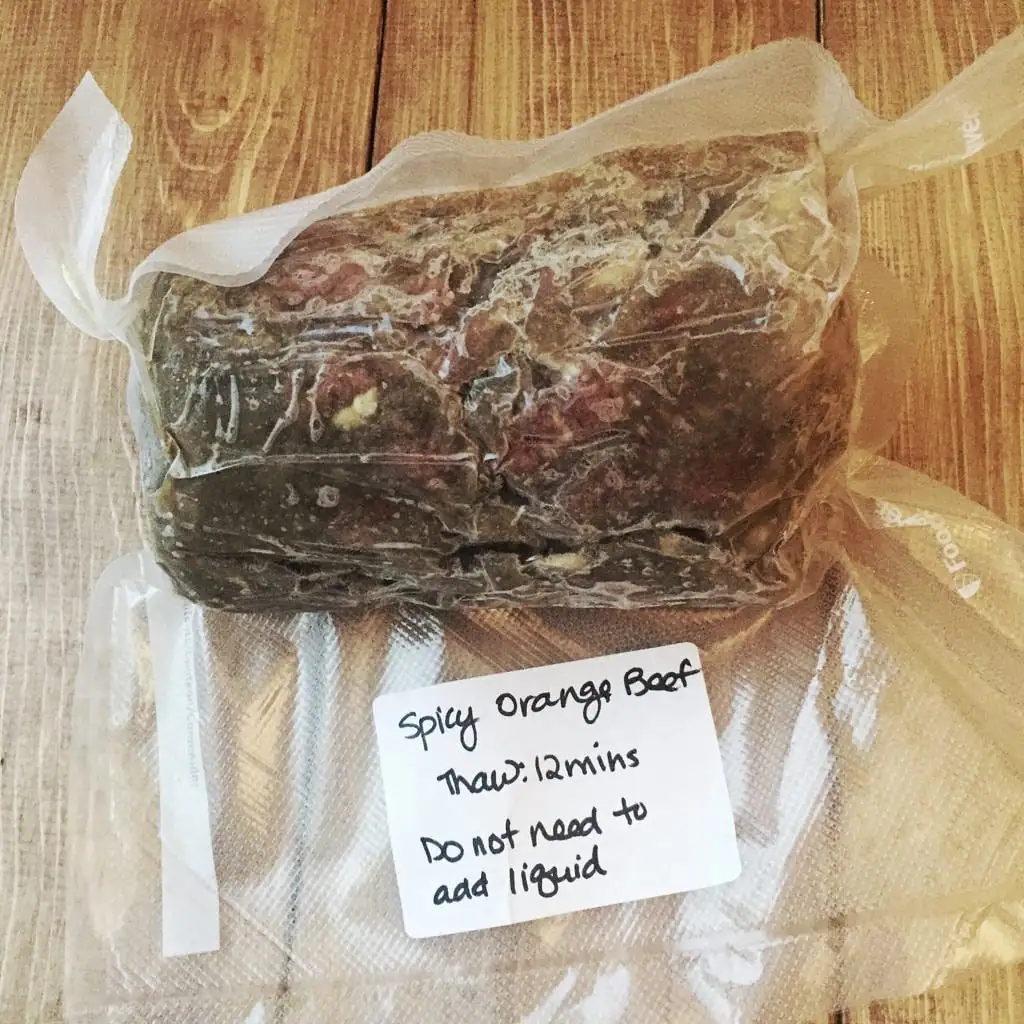
- If you are storing long term, now that the meal is a frozen block you could transfer to a foodsaver bag. This is an extra step and added cost as you are now using ziplock bags and foodsaver bags, but it is up to you. One of my meals ended up being too full in a ziplock bag so I opted to transfer to a food saver bag.
So, what are some prep ahead freezer friendly instant pot recipes?
Not all recipes are created to be prepped ahead and frozen. Recipes with multiple steps in the instant pot, or contain ingredients with differing cook times are not great for prep ahead and freeze. I also avoid vegetables for this. The biggest reason is that if you put cut up veggies in with your meat, you will end up with veggie mush as the cook times are so significantly different than meat.
If you select recipes that require steps after cooking (adding dairy or cornstarch for example, make sure you write that on the label.
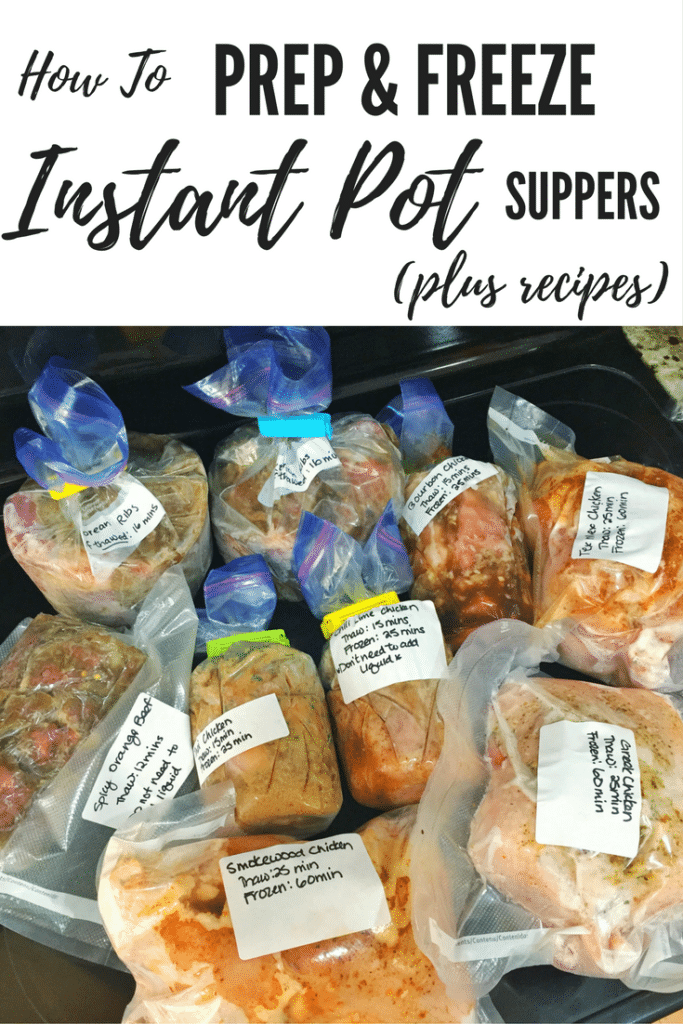
Here are some IP recipes that are great for prep and freeze that I have done:
Korean Ribs *I wouldn’t recommend cooking this recipe directly from frozen. The ribs cook unevenly* But, the flavour of these is AMAZING, and the pressure cooker makes the ribs really tender!
Honey Bourbon Chicken – be aware that honey doesn’t freeze so this pack will always be a bit squishy – and high risk for leaking if you don’t keep it upright.
Spicy Orange Beef – For this one, remember to add the cornstarch slurry after it is cooked and not into the prep bag. Write a reminder on your label about this. I also skip the browning/saute for this recipe.
Thai Chicken Thighs – if your peanut butter is really thick for this one, you may need to add a bit of broth on your cook day to make sure there is enough liquid to come to pressure.
Chili Lime Chicken – This recipe doesn’t call for liquid. I do add a splash of broth at cook time – but many have done this recipe without the broth and it has worked.
Putting all of these together took me under two hours – and I am pretty sure it took me longer to write this post and take picture of these creations than it did to prep the meals. #foodbloggerproblems.
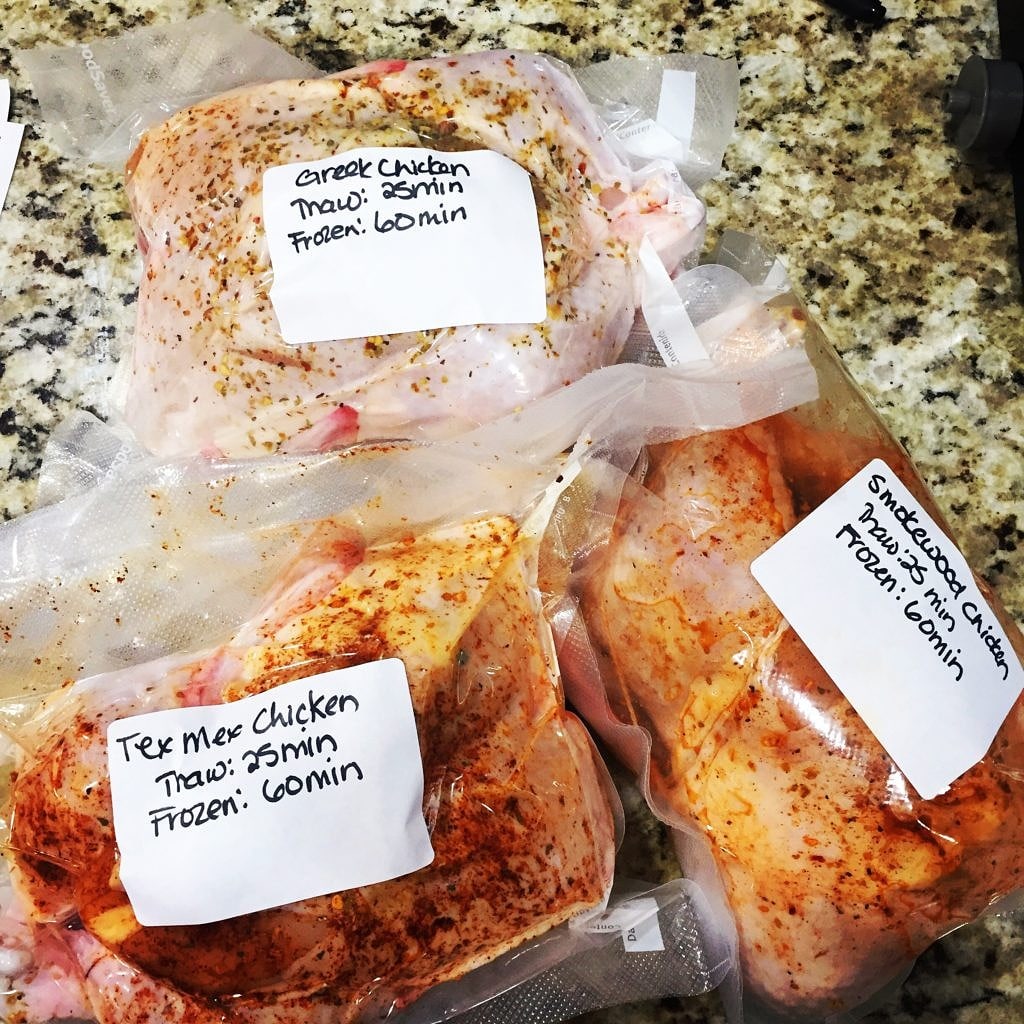
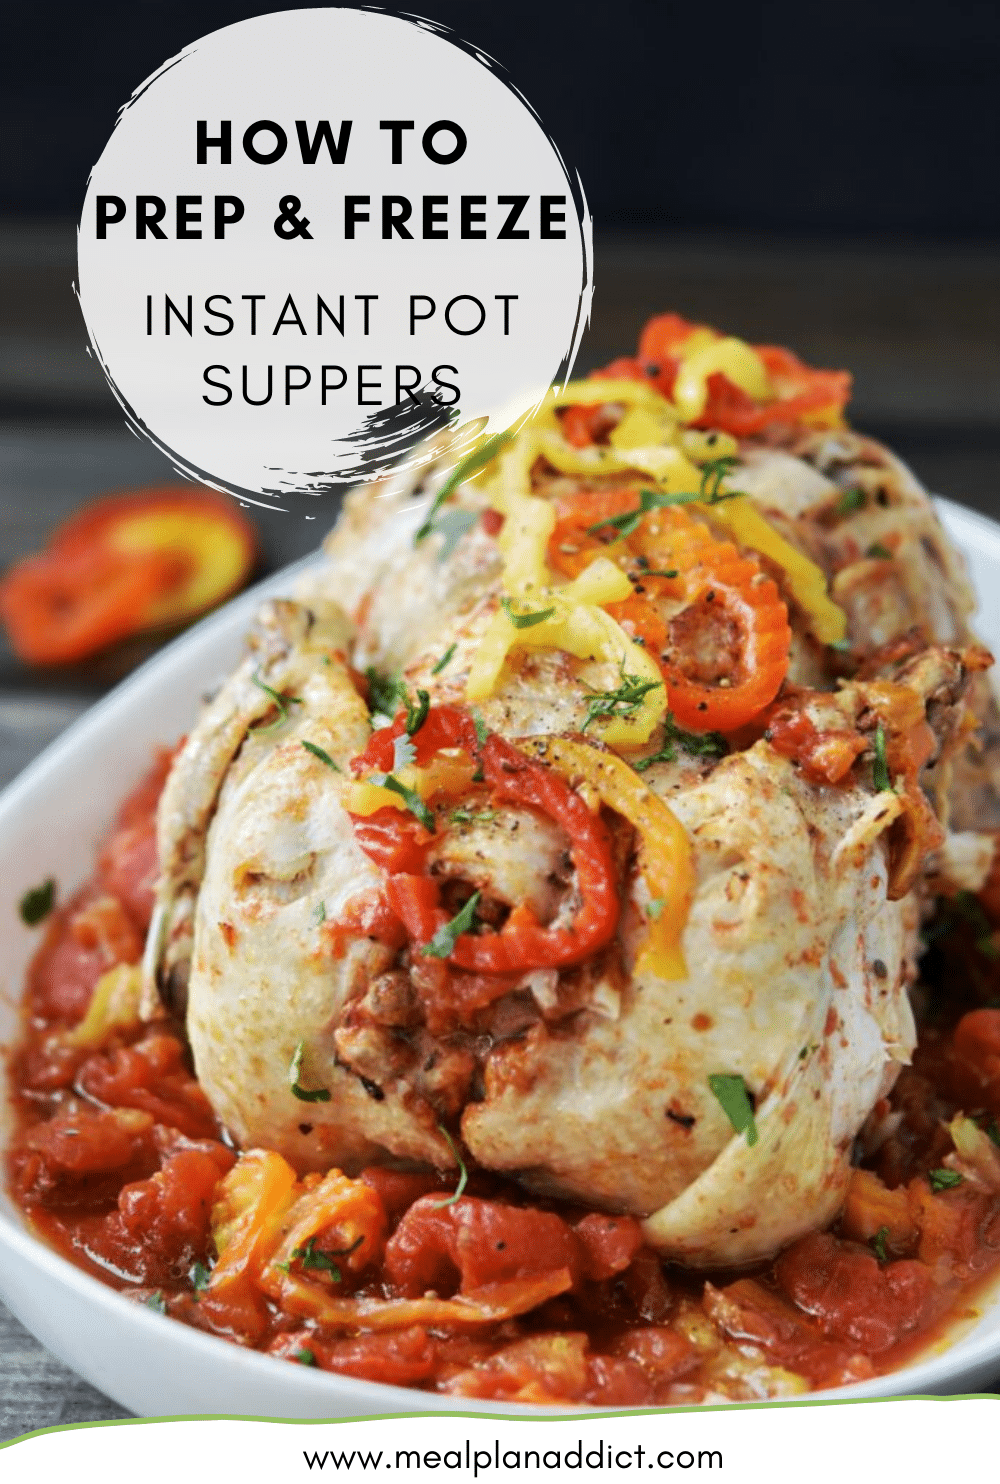
3 Whole Chickens – no recipe required. Here is how to cook a whole chicken in the instant pot.
- For each chicken, I cut the skin on the breast side and stuffed it with garlic cloves. I also seasoned with seasonings I had in my pantry – I used ClubHouse Greek, Applewood Smoked, and Tex Mex seasonings. I have done whole chickens from frozen and thawed and they taste awesome either way. My only cautionary note is that if you plan to cook from frozen make sure your chicken is small enough to fit as an ice block! My favourite storage method for these is the foodsaver system.
To Thaw or Not to Thaw?
While you can easily cook these meals right from frozen, and I will do that when I am in a bind, I typically still thaw the meals before I cook them. The main reason is that if you are putting a giant ice chunk in your pressure cooker it takes extra time for the block to melt and for the pot to reach pressure, and the cook times are increased.
If you are going to be cooking from frozen often – here is a great resource on cooking frozen foods in the pressure cooker.
One last note, that cook times from frozen will depend on the final shape of your meal. Always ensure your meat is cooked to the correct internal temperatures.
This week (January 16th 2017) , I will post pictures as I cook my way through these during the week – after work! Come follow along @mealplanaddict.
So, there you have it, ANOTHER easy way to fill your freezer so you can do better things with your after work hours!

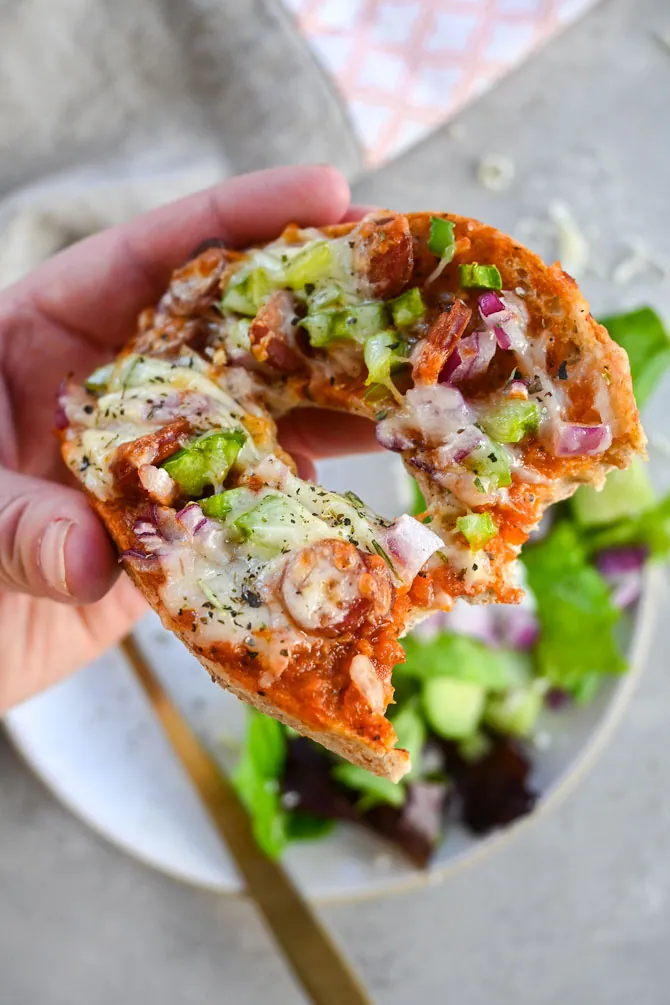
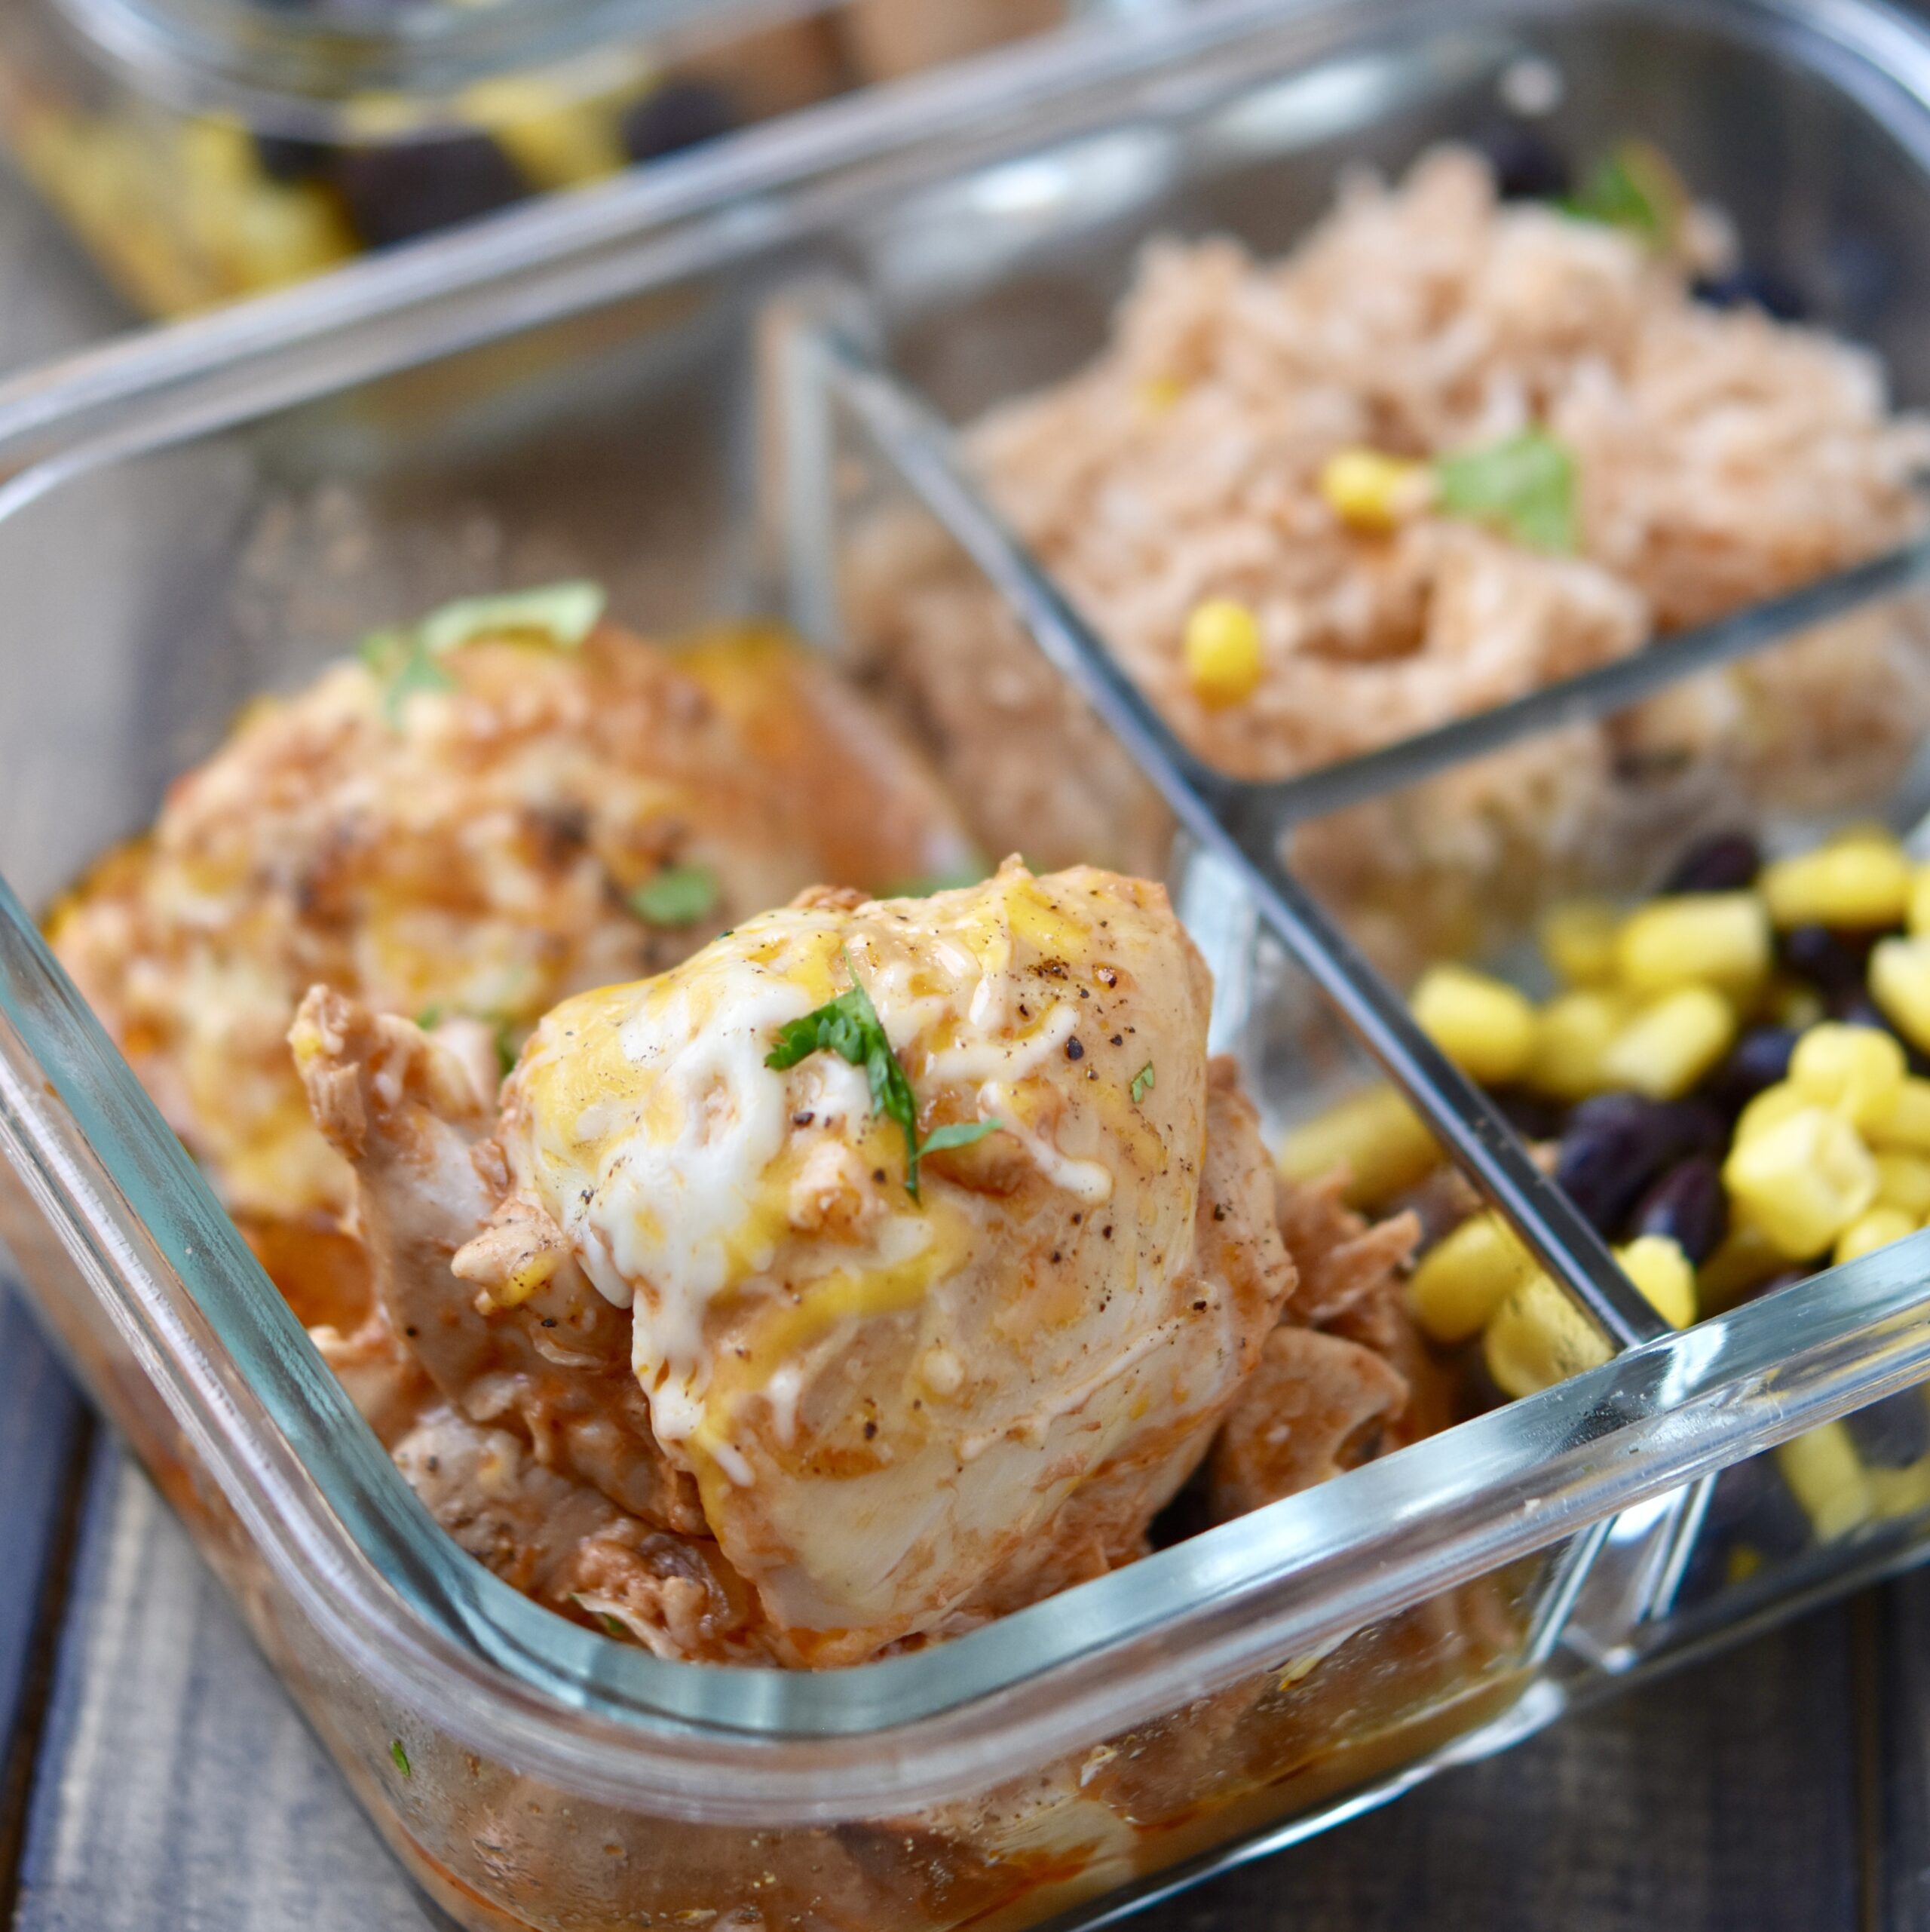
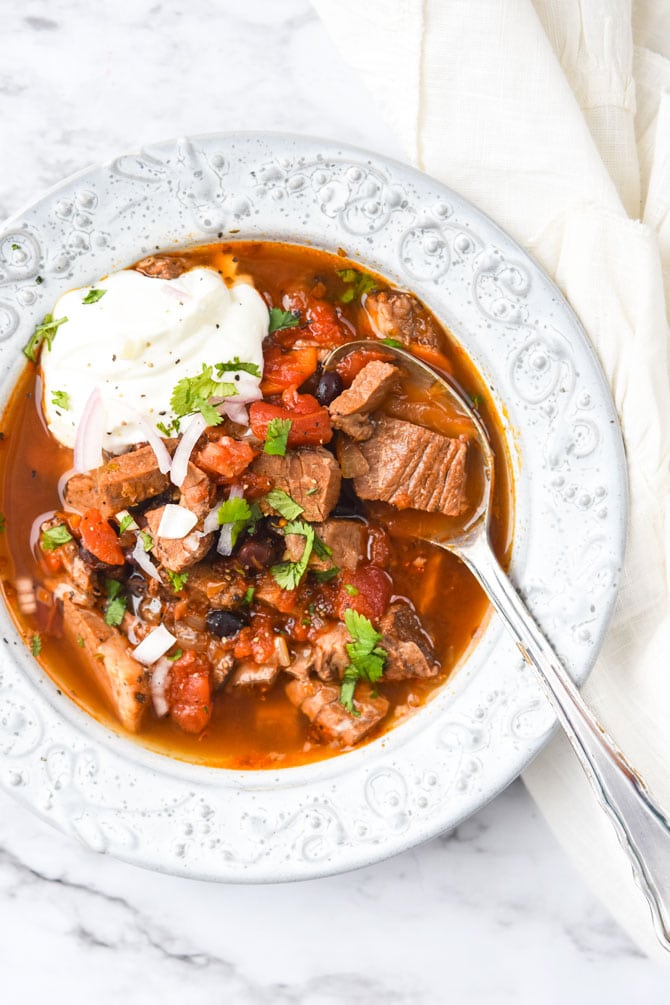
Do your cook times include depressurizing? Do you thaw on the counter prior to cooking? Or do you saute for 15 minutes to thaw? Thanks!
Heather, no the cook times do not include depressurizing. I thaw in the fridge overnight and not on the counter. If cooked from frozen, the big ice block just goes into the pot (no saute required).
HEY JUST RUN ON TO YOUR SITE ON PINTEREST, I LOVE YOUR RECIPE’S!!! YOU EXPLAIN EVERYTHING SO NICELY, PLEASE EMAIL ME ALL YOUR PRESSURE COOKER MEAL’S , NEW TO THE INSTANT POT!!!!! jwllklly@yahoo.com
Hey there! thanks for checking out the blog. You can find my instant pot posts here https://mealplanaddict.com/category/pressure-cooker/
How do you get the bags off if cooking frozen???
I run them under hot water briefly and the bag comes right off.
Where did you buy the” true lime shaker spice” for the chicken chili lime recipe, oh and the liquid smoke. I would love to try this one.
I just used lime juice instead. Liquid smoke is at local grocery stores – with hot sauce usually.
You can find true lime on Amazon. Hope this helps. ?
You can buy true lime at most grocery stores in the juice section where they sell Dry juice mixes for example Kool-Aid
What do you do with recipes that state to brown the meat first, such as the spicy orange beef? Do you brown it before you put it in the freezer container?
I would just skip the browning phase. But I have seen some people take the beef out – brown it, and then add the liquid in. I wouldn’t brown and freeze.
I brown my meat, let it cool and then add it to the freezer packs. I’ve never had a problem with any of the recipes I’ve done this way.
Where did you find the 6 cup ziploc containers? I’ve been searching online and can’t find any larger than 4 cup.
I find my ziplock containers at Real Canadian Superstore.
How would you convert the times to a slow cooker. Do u have any make and freeze slow cooker pages like this one
Hi Kate, I did a post a while ago on slow cooker meals – before I got my instant pot. That post is here –> https://mealplanaddict.com/2015/12/confessions-of-a-born-again-slow-cooker/ As for converting to slow cooker, I haven’t tried them, but I find most slow cooker recipes to be high for 4 hours, or low for 6-8. But that said, I haven’t tried out any of these in a slow cooker so I can’t give exact tested directions.
I’ve been using these 64oz freezer containers from Amazon.
https://www.amazon.com/Extreme-Freeze-Reditainer-Freezeable-Containers/dp/B008XLE0IQ/ref=sr_1_1?ie=UTF8&qid=1497746147&sr=8-1&keywords=64+oz+freezer+containers
They are the right size and hold up to freezing well although I haven’t done any long term freezer storage in them yet. If I want to keep it for more than a couple of weeks, I put the stuff in the ziplock then put it in the container because the container is modular which means it stacks well! I have 2 side by sides and a separate upright freezer and I just couldn’t deal with more deformed bags of veggies ruining my ability to cram things in there. I also use the 32oz containers for liquids like stock (or ‘bone broth’ as everyone decided to call it last week).
I agree about the leftover vibe, too! Thanks for all your time and effort. Your site is a great resource for IP lovers like me.
ohhh I am going to order some of those and give them a try. Thanks for the recommendation! …. and thanks for reading!
I haven’t made any of these yet, but I love you. These look like recipes I’ll actually make, my family will eat, and will fit my lifestyle. THANK YOU!
ha ha thanks Lori! If you like what I am up to you should come join the Confessions of a Meal Plan Addict Community on Facebook! https://www.facebook.com/groups/mealplanaddict
So many great ideas! I recently got an IP and love it! My question – How do you adapt a recipe’s cook time to cooking from frozen? I definitely want to do this but not sure how inwpole take a recipe and figure out how long I would cook it fresh vs frozen. Thanks!
typically no, you don’t need to adjust cook times. But I have found if its a BIG block of something (like a whole chicken) I do increase the time.
I saw your magnet. Great idea! I live in the US, so don’t want to wait 3 weeks for shipping. Any chance you have a download/ PDF page of it? (I figure to just tape page to inside of my cabinet.)
Here’s how I keep frozen items totally air tight. (After having two Food Saver gadgets go south on me, I gave up on those overpriced gadgets.)
Just a forewarning: don’t let anyone whose respect you value witness this spectacle. You’ll look like the Queen of the Dorks and will change their perception of you forever.
Freeze the food to be used later in the appropriate sized and shaped container. When frozen, run warm water over the container and pop out the food. Place food in a Baggie (not a Ziplock) and insert a plastic drinking straw. Gather the Baggie around the straw with one hand and suck the air out. For maximum safety, I place the Baggie in a sturdier plastic bag like a Ziplock before returning to the freezer if the food is something liquid or drippy. Power outages happen. For our non-U.S. readers, “Baggies” are rather flimsy plastic storage bags with no zipping mechanism. You close them up with the wire twist ties.
This works really well for storing baked goods, especially things like cookies and muffins that can’t go in your Food Saver and don’t fit tightly in a Ziplock. I wish I had a photo of the muffins I tried to process in my first Food Saver. They came out pumpkin flavored beer coasters.
Hello there-I just found you through the wonders of the Internet… Very interested in pre-planning for instant pot meals. I noticed that you thaw your meals prior to putting into the instant pot. Do you just put the baggie in your fridge and wait for it to thaw? Seems like that would take a day or two because it’s such a large block … thanks for any tips.
Hi Susan,
It depends. If it is a couple of chicken breasts, then I will cook from frozen, but big blocks of foods, I do thaw in my fridge overnight. Sometimes it is not completely thawed, I will put it in, but never straight from the freezer.
Would you adjust any of these recipes (time etc) for stovetop PC? This in advance!
Sorry, I have never used a stovetop PC so I am not sure how to convert.
Could you please tell me if you are making half the amount of the recipe do you need to adjust the cooking time?
No, the cook times stay the same.
For prepping these meals for freezing do you skip the browning of the meat step? I hope to try the chili lime, chicken, Thai chicken thighs and spicy orange beef. But in the printed recipe there are no separate instructions for doing this as a freezer meal.
Hi, I just want to be sure. You show Thaw: time and Frozen: time. Is that cooking times if items are completely thawed or frozen, or do you thaw it that long then cook it the frozen time while semi frozen. I know I sound crazy but I have never cooked anything frozen.
Thanks, Janine
If you want to use the food saver bag and not have to also use a ziplock bag, fill the food saver bag in the container, then use the chip clip on the bag, freeze, then take the item out and use the food saver vacuum on the bag.