How to Brew Kombucha at Home
Get ready to save a ton of money today as you learn how to brew kombucha at home!

This post has been a long time coming, and hang on, it is a bit of a long one.
There is a ton of Kombucha brewing info coming at you!
I have been brewing my own kmobucha at home now for about a year, and every time I give a sneak peak over on my Instagram story, I get a flood of DM’s asking for the how to post – today is the day!
This post has a lot of info and photos so you can SEE what the process looks like, but at the bottom of the post is a printable card with the concise directions!
Overview of Kombucha
If you are new to kombucha, or are curious as to what it even is, it is simply fermented tea.
Bubbly, delicious, probiotic rich, fermented tea.
Kombucha is not new. It is become a lot more main stream in the commercial beverage world, but kombucha has been around for centuries – originating from Japan or China, so I read.
It has gained popularity for it’s probiotic rich properties.
Kombucha is high in lactic-acid bacteria which is thought to promote healthy gut bacteria to help with digestion, inflammation, and a multitude of other health benefits that I won’t get into here.
So, how is Kombucha made?
Brewing kombucha is not difficult, but patience is required.
But, once you have your first brew started, you then bottle and start your next brew, and before long, you are going to be giving kombucha away because you have so much of it!
Brewing kombucha requires 2 phases of fermentation and is close 12-20 days total!
The two phases are referred to as F1 and F2.
F1 – this is the actual making of the kombucha. This takes 6-10 days.
F2- this is where you flavor and carbonate your kombucha. This takes 6-10 days.
What do I need to brew Kombucha
- Black Tea
- SCOBY (more on this below)
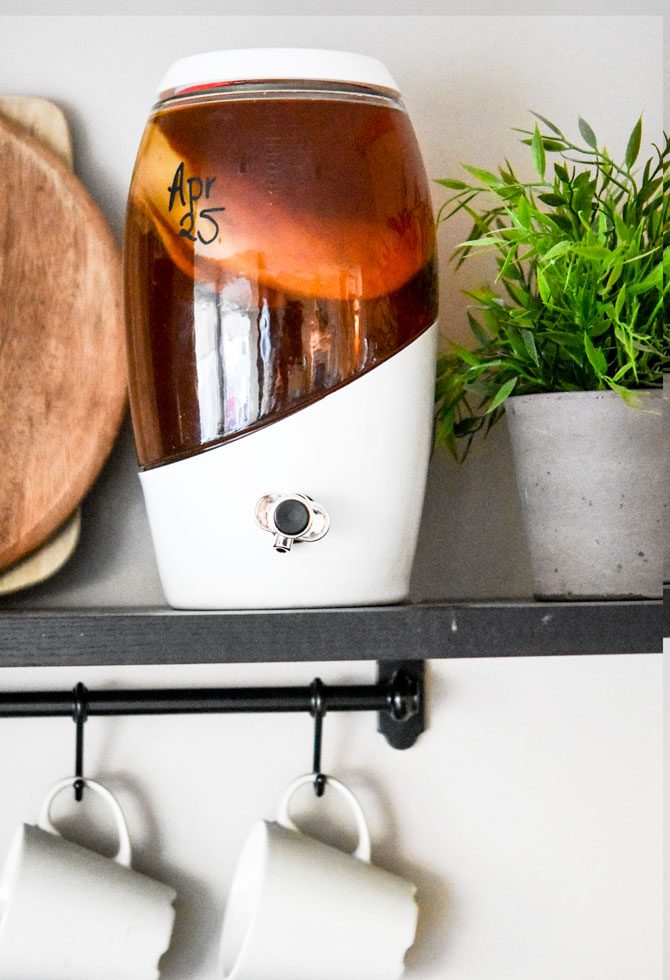
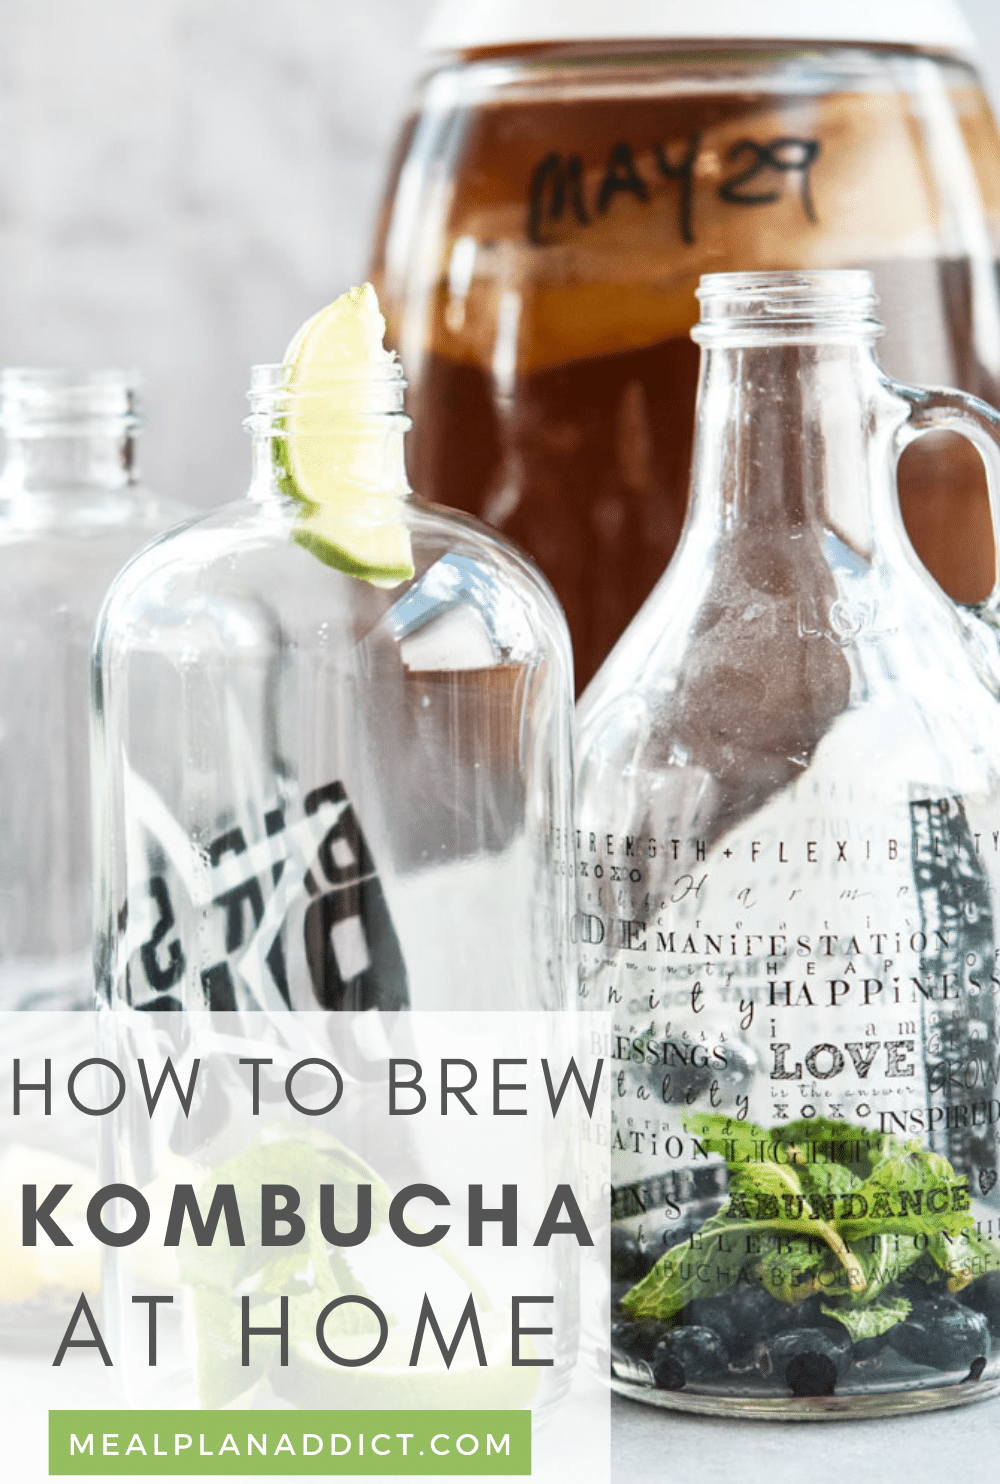
- 1 gallon glass container ( I use this kombucha brewer) but any gallon glass container will work.
- 1 cup white sugar (do not sub with anything)
- Tightly woven cloth – coffee filter, paper towel, banana.
- Elastic
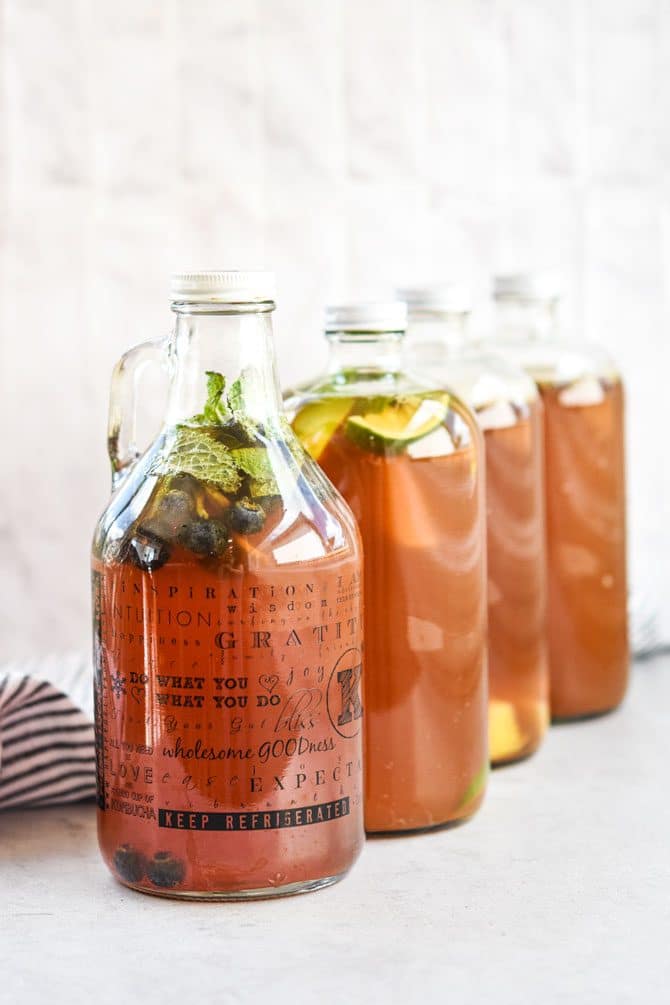
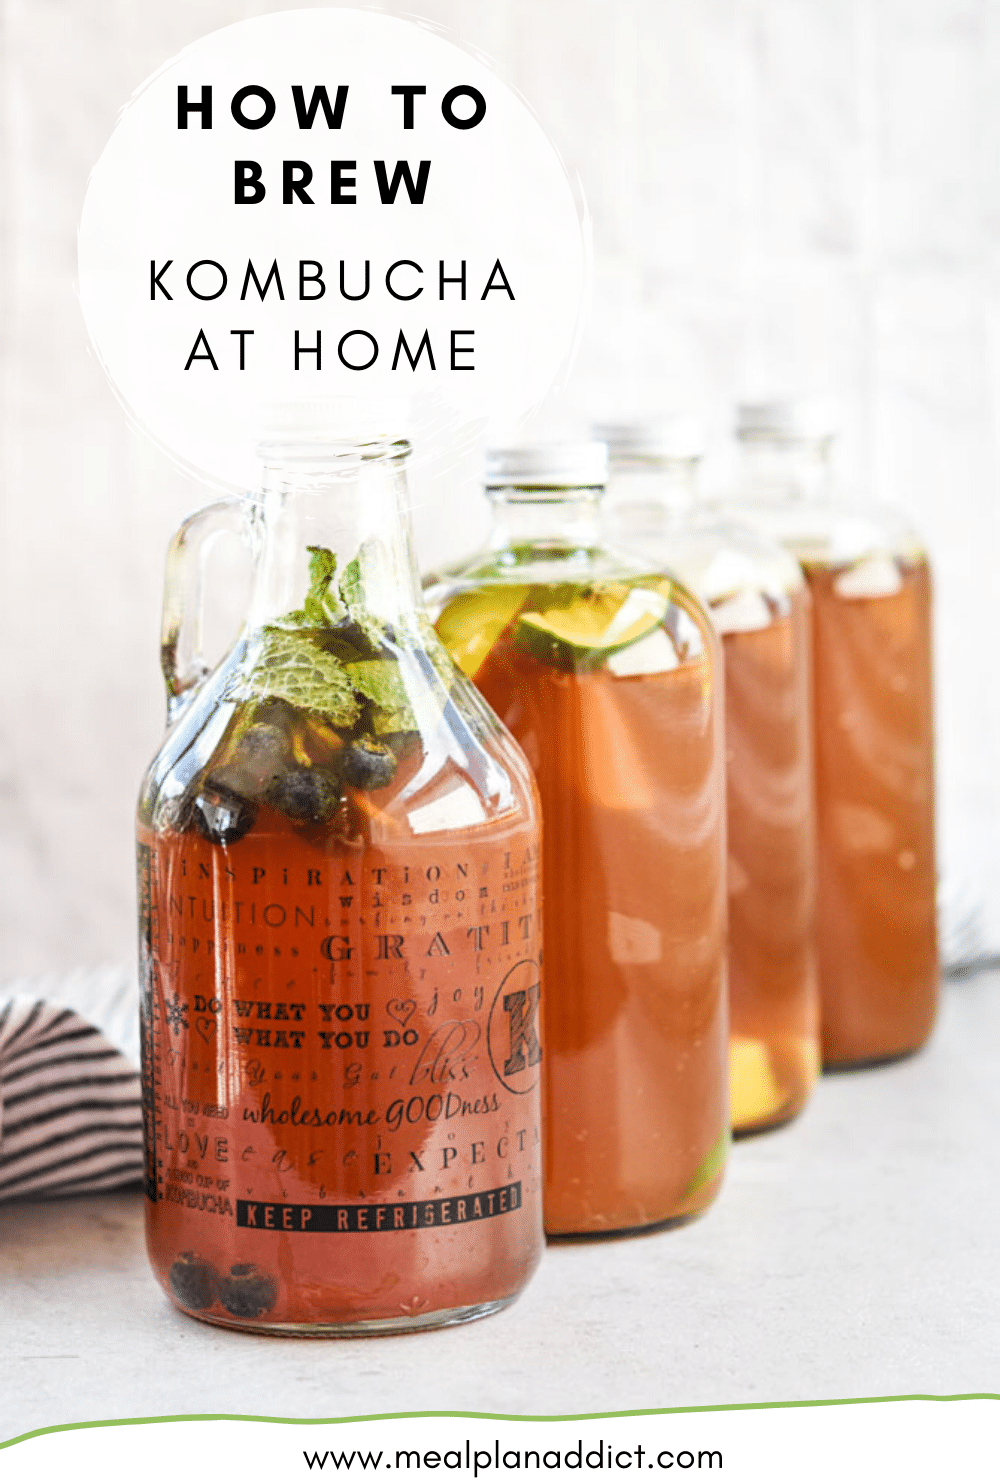
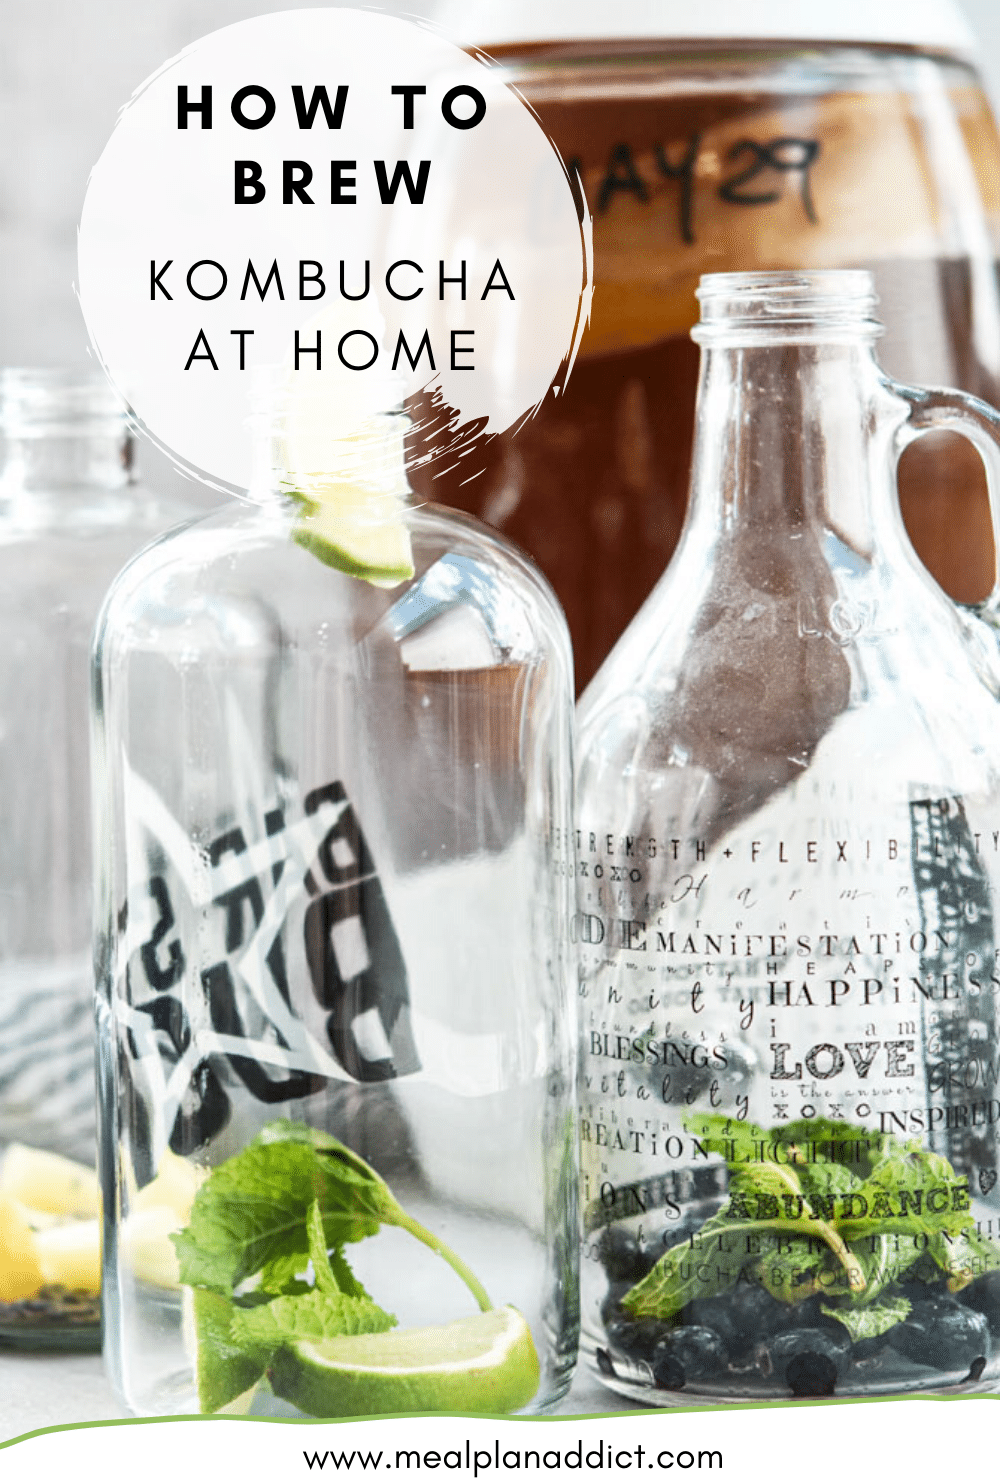
- Glass containers with tight lids that can keep carbonation in. Swing top (like these) are great to keep the carbonation in, but getting the fruit out after can be a pain. I like to use this clear growler as it has a wider mouth to get my fruit out when I go to bottle.
- Starter tea – this is tea from a previous brew OR white vinegar.
- Fruit and herbs of choice.
- A small funnel
- A small sieve
OR… get a kombucha starter kit with everything you need!
IMPORTANT ! Do not use anything other than a glass container and make sure it is CLEAN CLEAN CLEAN. The goal here is to grow lots of good bacteria… but we don’t want harmful bacteria.
What is a SCOBY?!
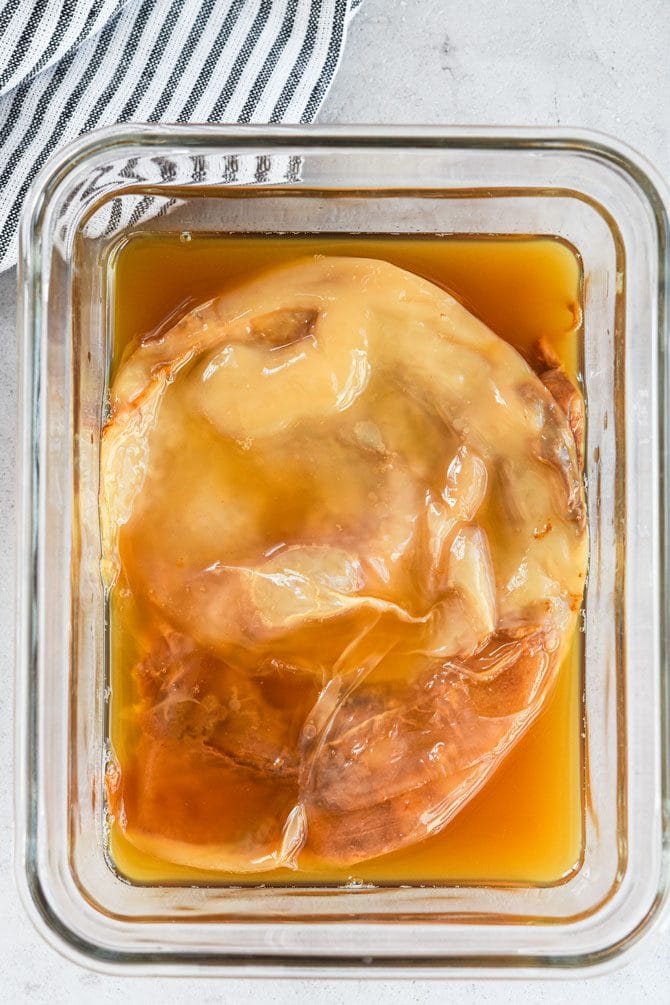
A SCOBY is a Symbiotic colony of bacteria and yeast. It is the ugliest thing ever!
But, it is what makes kombucha what it is.
The easiest way to get a SCOBY is to get one from a friend who is brewing.
SCOBY’s continue to grow and replicate, and over time, you get so many, you don’t even know what to do with them. Ps. This is called a SCOBY hotel.
If you can’t get one from a friend, you will have to create a mother from a commercial bottle of booch. Here is how you create your own mother SCOBY.
Let’s get into the details of how to brew kombucha at home:
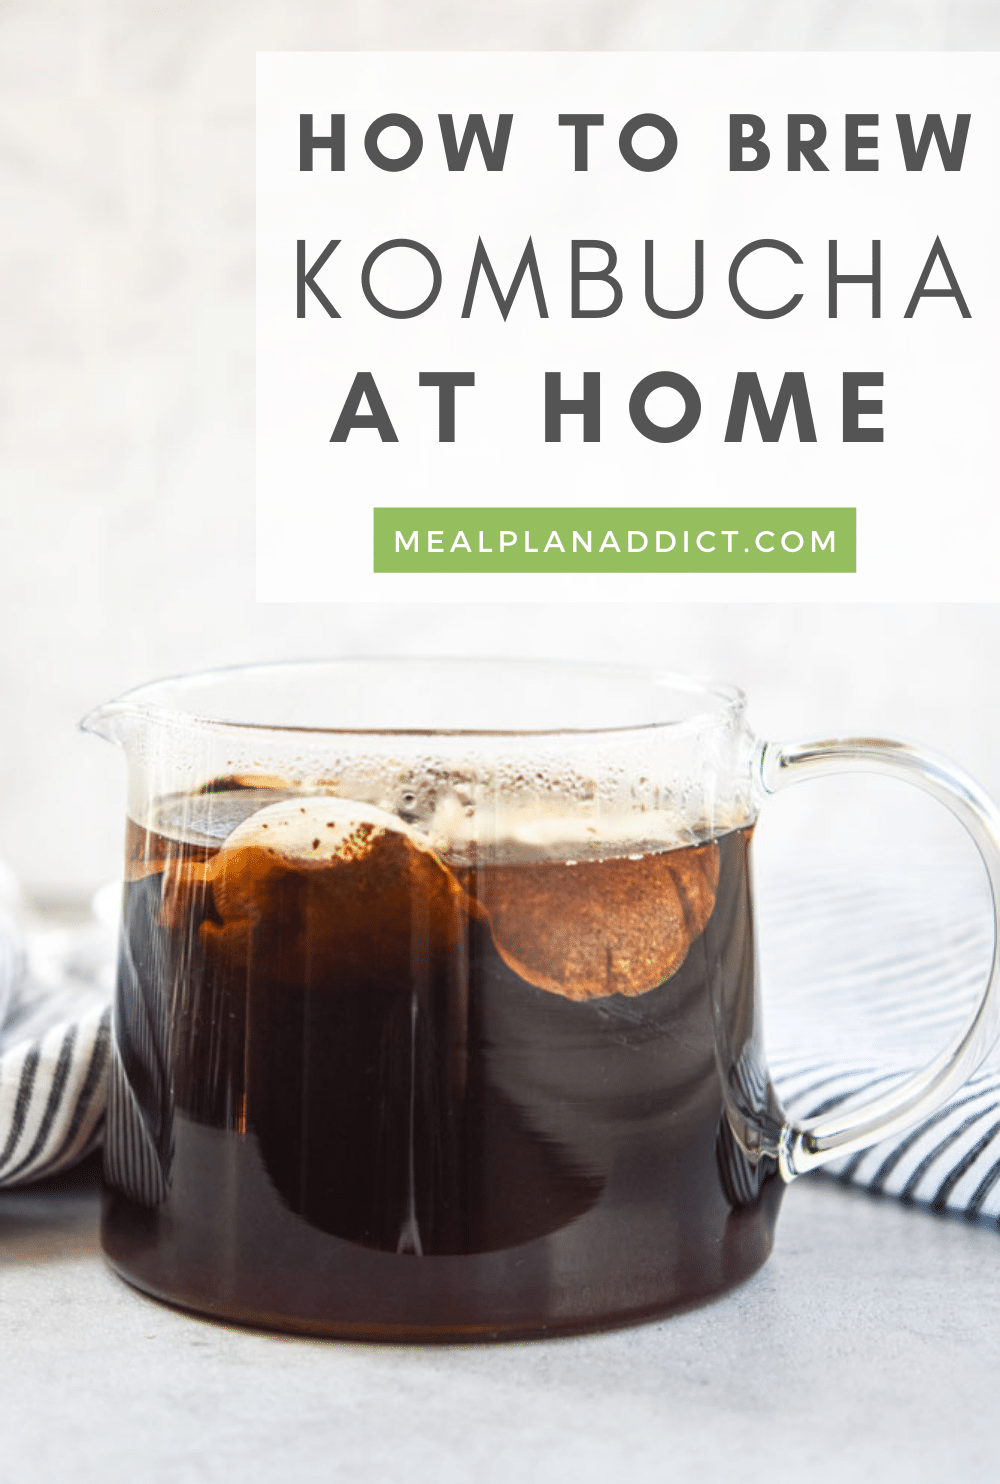
F1 – The first fermentation. { 6 -10 days} BREWING YOUR BOOCH
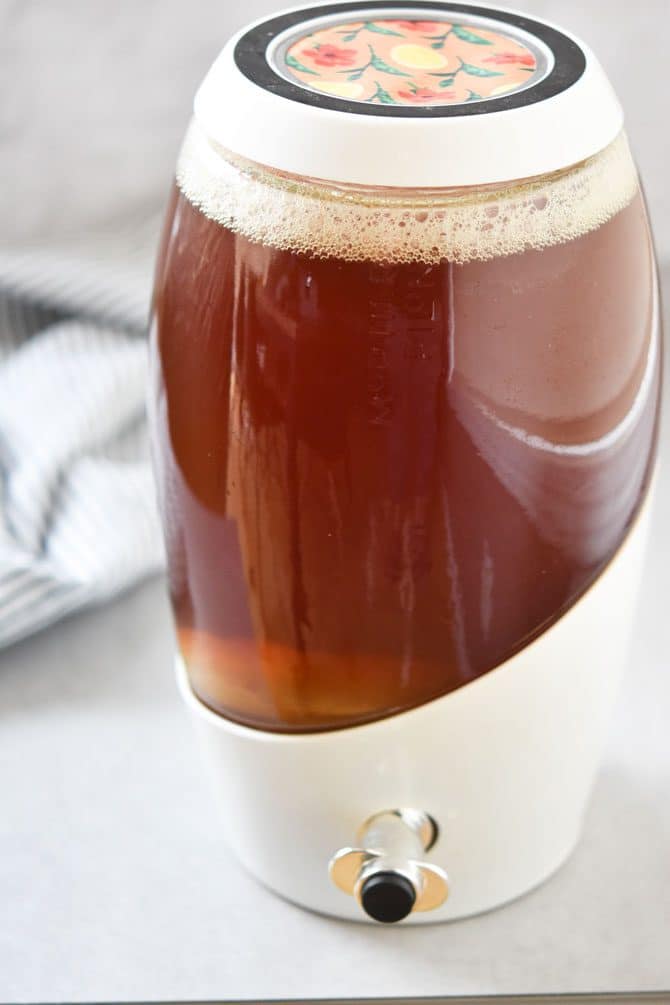
F1 is where the fermentation magic happens.
This is where your SCOBY, tea, and sugar do their fermentation work.
Temperature is a factor here. I do find that in the winter months (here in Canada), this can take 2 weeks, and in the summer, just a week. The warmer it is on your counter, the faster the fermentation process takes.
For F1:
- boil water, and step your tea with 8-10 bags of black tea. You will need 12-14 cups of water total, but you don’t need to boil it all. I usually fill my kettle, and then once it is cooled, top up the brewer with distilled water to get to get to 14 cups of water.
- Doing it this way, your tea will look incredibly concentrated. That is what you want.
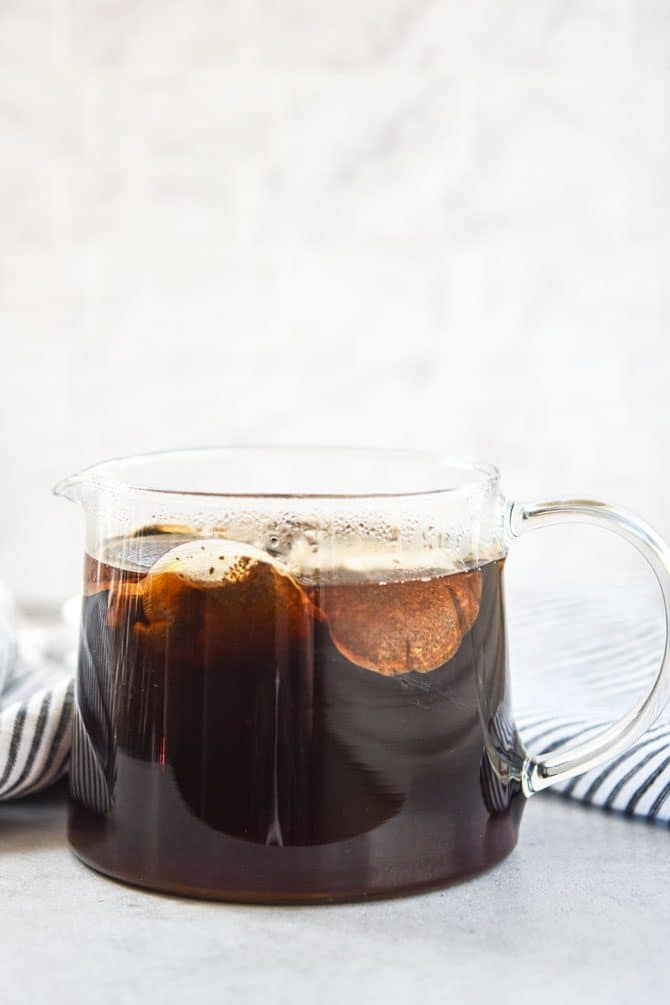
- Remove your tea bags, and add in and dissolve 1 cup of sugar.
- Allow the tea to cool to room temperature.
- Combine the concentrated tea with distilled water to get to 14 cups of water, and add your SCOBY to your brewing vessel. Aka, your glass one gallon container.
- Add one cup of starter tea or vinegar.
*Boiling water kills your SCOBY* Make sure the tea is cooled.
- Add your breathable lid. Cloth and elastic to be exact. You don’t want fruit flies getting in, so make sure it is breathable but not with holes! If a fruit fly gets in, you will have to toss your whole batch.
- Let your kombucha brew on your counter now for 1 week. Check for mold. If you get mold, you will need to toss everything and start over.
I just set it up on a shelf in my kitchen and forget about it for a week.
That is the F1 process.
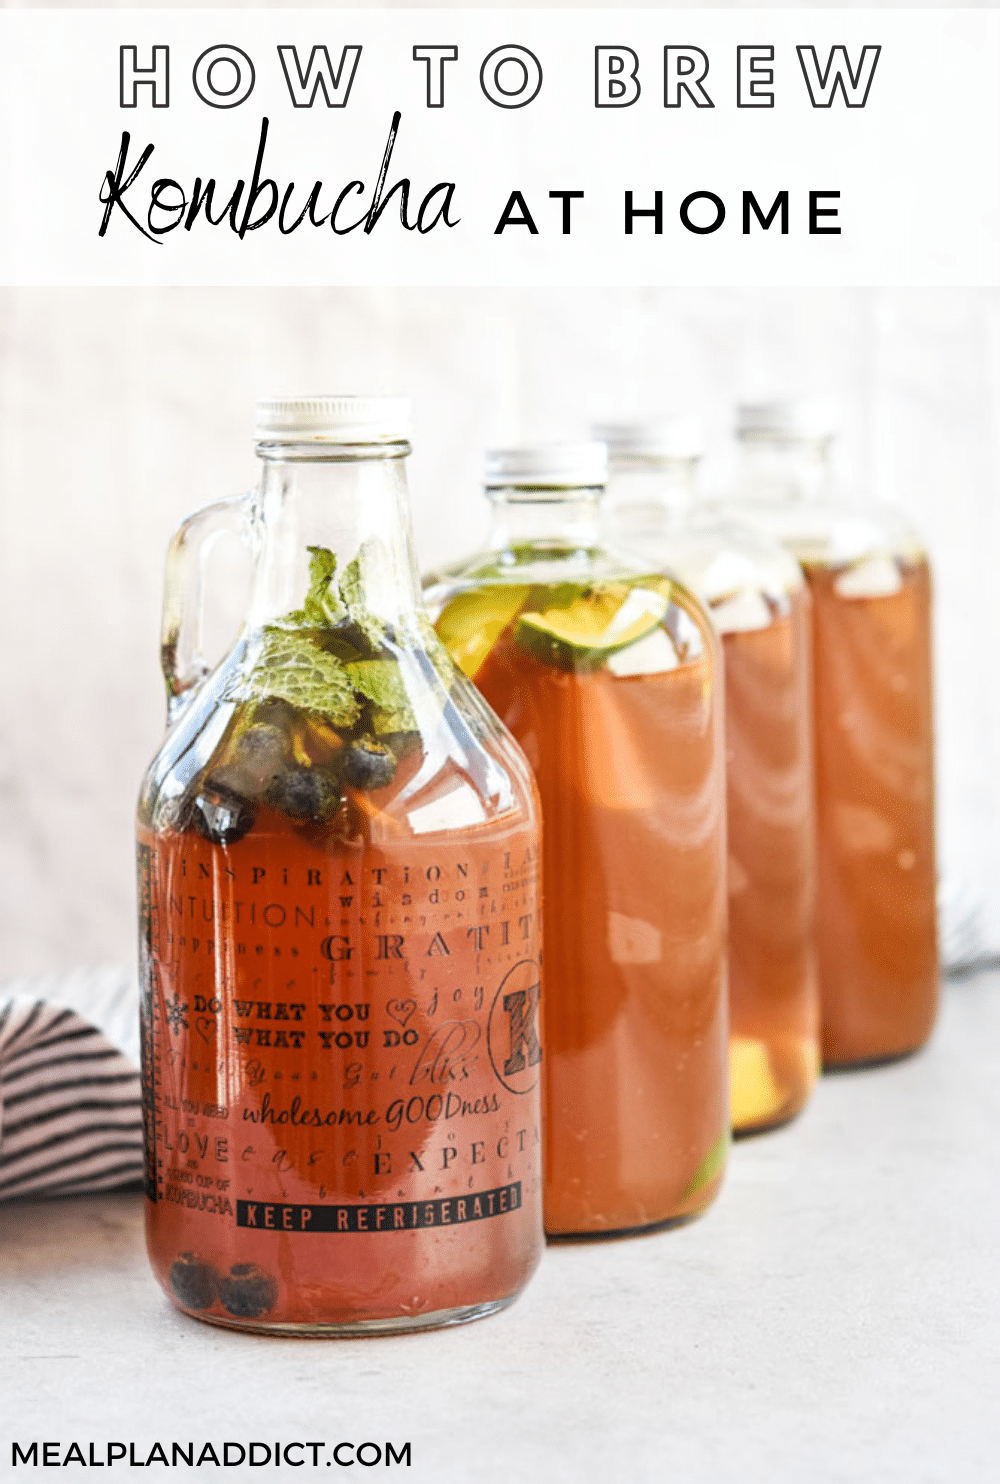
F2- Second fermentation 1-2 weeks – CARBONATION & FLAVORING
This is where you flavor your kombucha, and it gains it’s carbonation.
Same temperature situation factors in here. The warmer it is, the faster and more carbonated your booch gets.
The more sugar your flavor choices have, the more carbonated it gets as well. I find pineapple to be the most robust for gaining carbonation.
You will need to check the carbonation ever few days by “burping” your kombucha. Slowly remove the lid and allow the air to escape. If your booch doesn’t have carbonation, put the lid on and continue to let it sit.
If the lid damn near flies off when you slowly open it, you are done. Move your booch to the fridge so
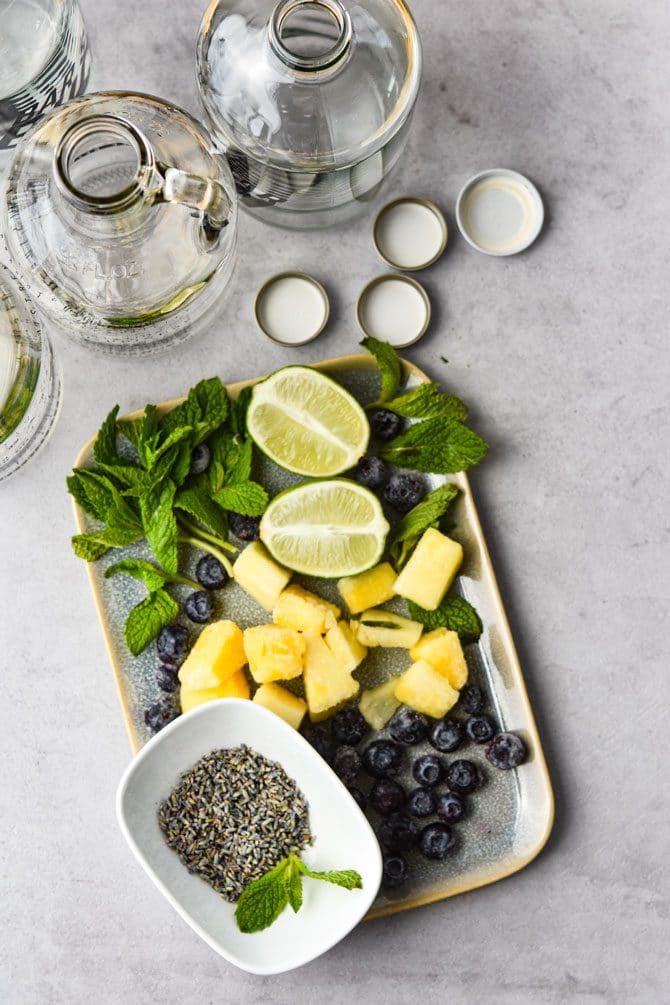
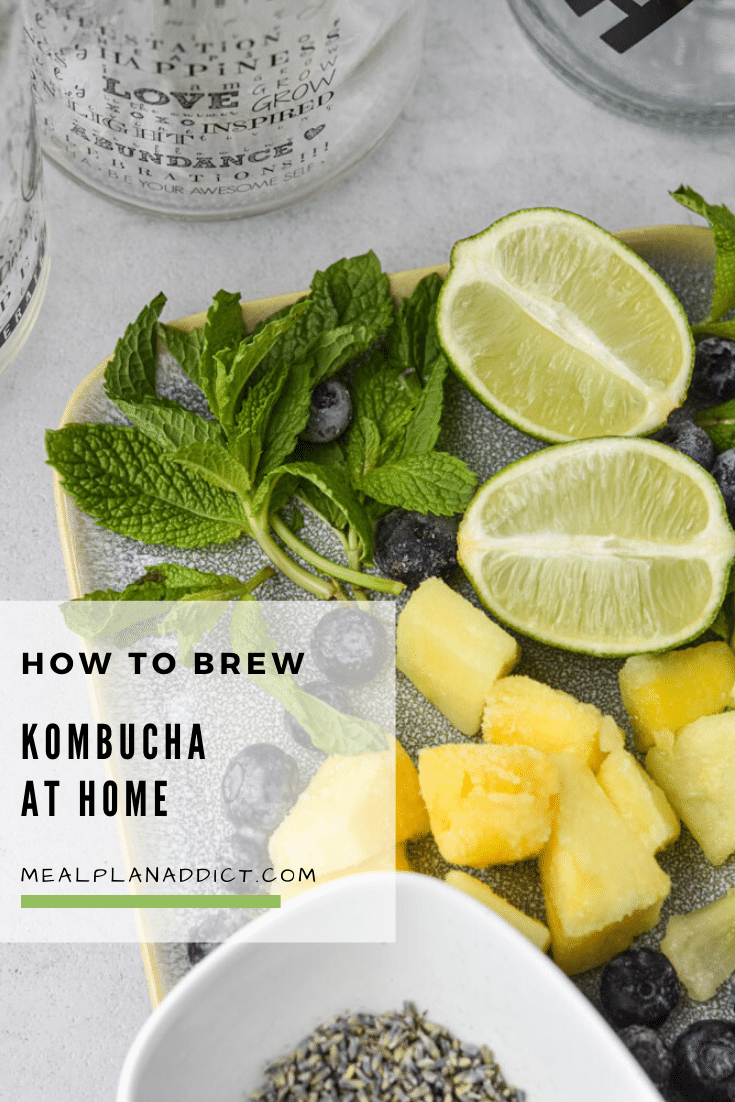
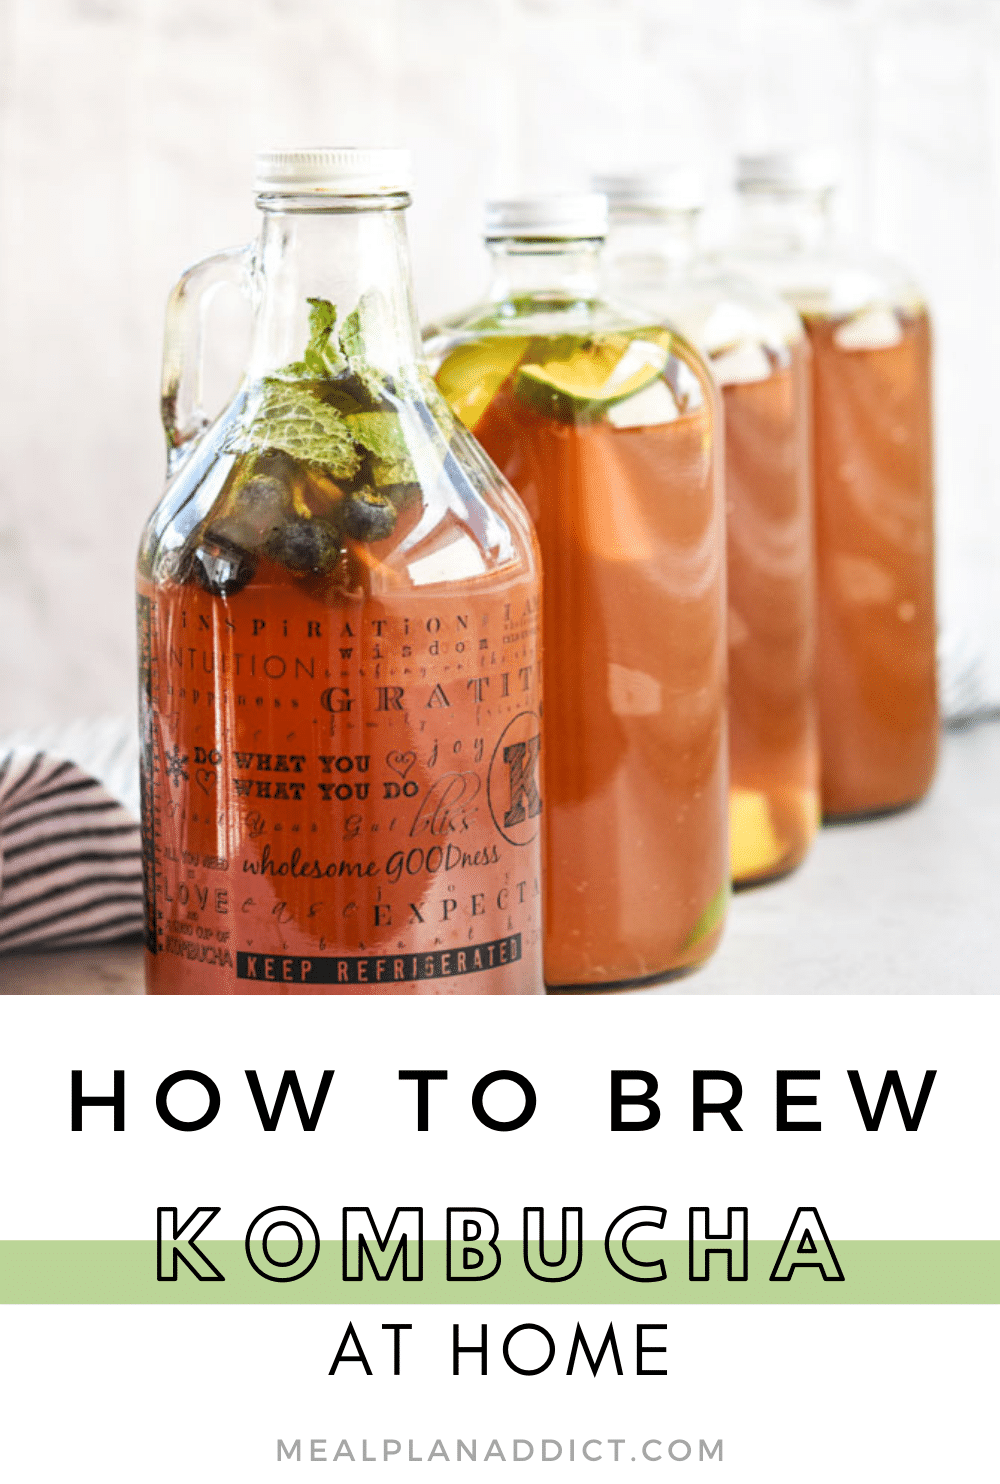
Flavoring your Kombucha
The best way to flavor your kombucha is with fruit!
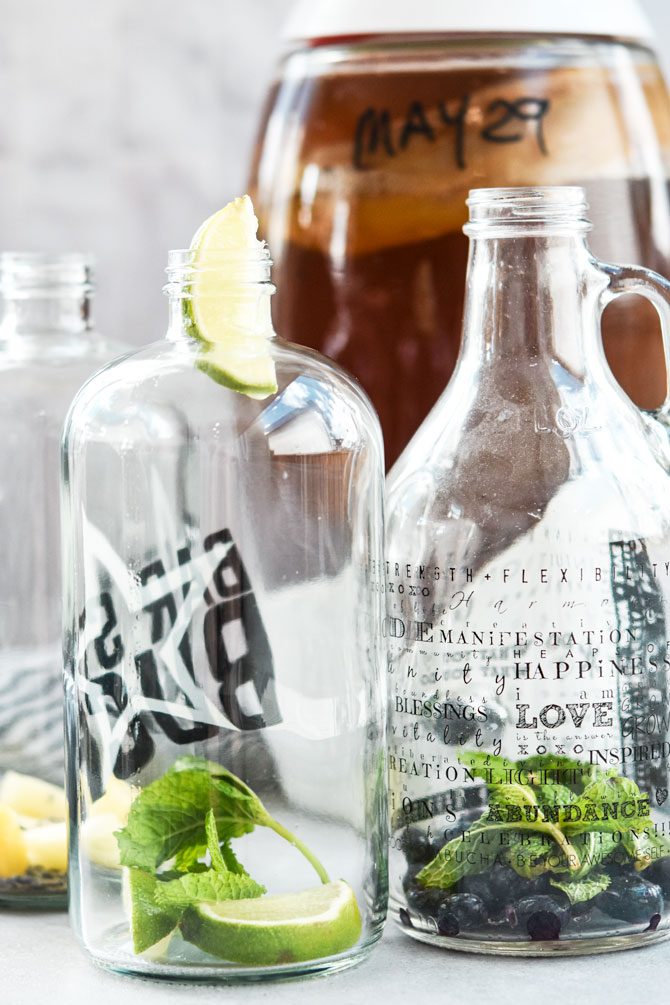
The combinations are endless. I also use herbs like mint and ginger.
You can get super creative here, and in my opinion, creating the flavor combos is the best part!
My go to flavor combos:
- Blueberry Mint
- Blueberry Lime
- Pineapple Ginger
- Pineapple Mint
- Strawberry Lemon
- Lavender Blueberry
- Strawberry Mint
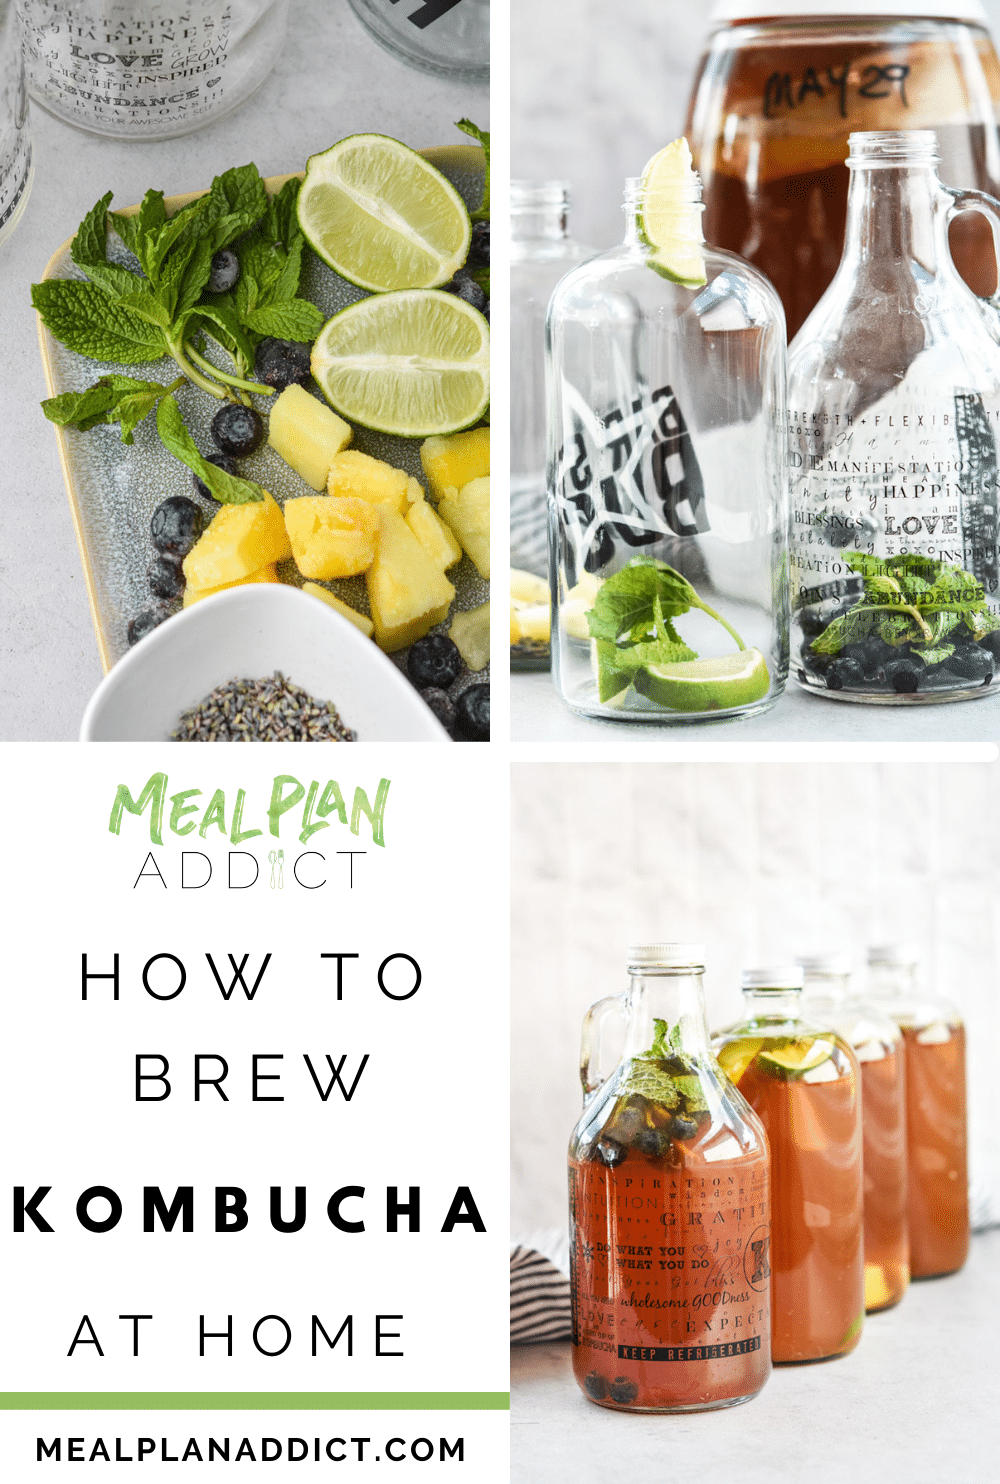
The next step is bottling your Kombucha
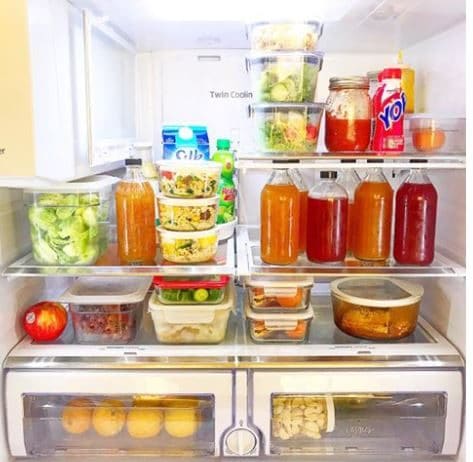
This is where you strain out your fruit and bottle your tea for the fridge. Once you bottle it and move it to the fridge. It will stop building up carbonation.
Your bottled kombucha may grow a whole new SCOBY, so don’t be alarmed if that happens!
To get the booch into the bottles, set up a funnel with a sieve on top of the funnel. This way you strain out the fruit and bottle all at the same time.
Don’t forget to label your bottles with the flavor!
As for bottles, you can use any bottle you like. I use old apple cider vinegar bottles, personally!
There, you did it! You just brewed kombucha at home!
If you give it a try, I would love to see it! Tag me @mealplanaddict on Instagram!

How to Brew Kombucha at Home
Equipment
- 1 gallon glass container
- Elastic band
- high mesh cloth (think a coffee filter or bandana)
- Small funnel
- Small sieve
- Kettle
- glass bottles (which ever size you want to portion into)
Ingredients
- 8-10 black tea bags
- 12-14 cups distilled water
- 1 cup starter tea (or while vinegar)
- 1 SCOBY
- 1 cup white sugar do not sub this for anything
- fruit of choice for flavoring
Instructions
F1 - Brewing you kombucha
- Brew concentrated black tea by boiling 6-8 cups of water with 8-10 tea bags.
- Allow to steep for 5 minutes.
- Remove tea bags and discard.
- Add one cup of sugar and stir (with a wooden or silicone spoon) until dissolved.
- Allow the tea to cool to room temperature.
- Add the concentrated tea to your 1 gallon container.
- Add distilled water to get total volume to 14-16 cups.
- Carefully add your SCOBY and the starter tea (or vinegar).
- Cover the top (but leaving it open to air) by placing a coffee filter or tightly woven cloth over the opening. Secure in place with an elastic.
- Allow to sit on a counter for 7 days.
- After 7 days give it a taste. If it is super sweet, allow it to go a few more days.
F2- Flavoring & Carbonation
- The number of glass containers you use here is completely dependent on how many different flavors you use. ALWAYS use glass.
- To the bottom of your glass containers ( I use glass growlers) add the fruit and herb flavors of choice. There are no rules on quantity here.
- Using a funnel, add your kombucha to the containers with your flavorings.
- Make sure the lids are on tight, so that the carbonation builds.
- After 1 week, slowly open the lids to allow air to escape. This will tell you how much carbonation has built. If you want more carbonation, put the lid back on and allow it to sit another day or 2.
- When your desired level of carbonation is reached, move the jars to the fridge.
- You can put them right into the fridge with the fruit, or you can strain it out and move to other containers.


Yikes! my scoby sunk to the side of the jar. its been more than 24 hours and it has not reset to the top. what does this mean? I am so sad, it was going so good for about a month. I need help, thanks so much!
Joanne